Knowing what the best Dead Rails class is helps so you don’t waste your Bonds on classes that may not be as strong. After many wins and some experimenting in Nightmare Mode, I’ve decided what the best class is and also put together a tier list further down.
It’s important to note that certain classes are situational or will depend on how you’re playing. Therefore, that doesn’t mean a low-tier class is necessarily bad. One may be best with a group, best solo, or even if you’re speedrunning the game. At the end of the day, make sure you’re having fun. And it’s always possible that the developer makes balance changes later too.
Best Dead Rails Class
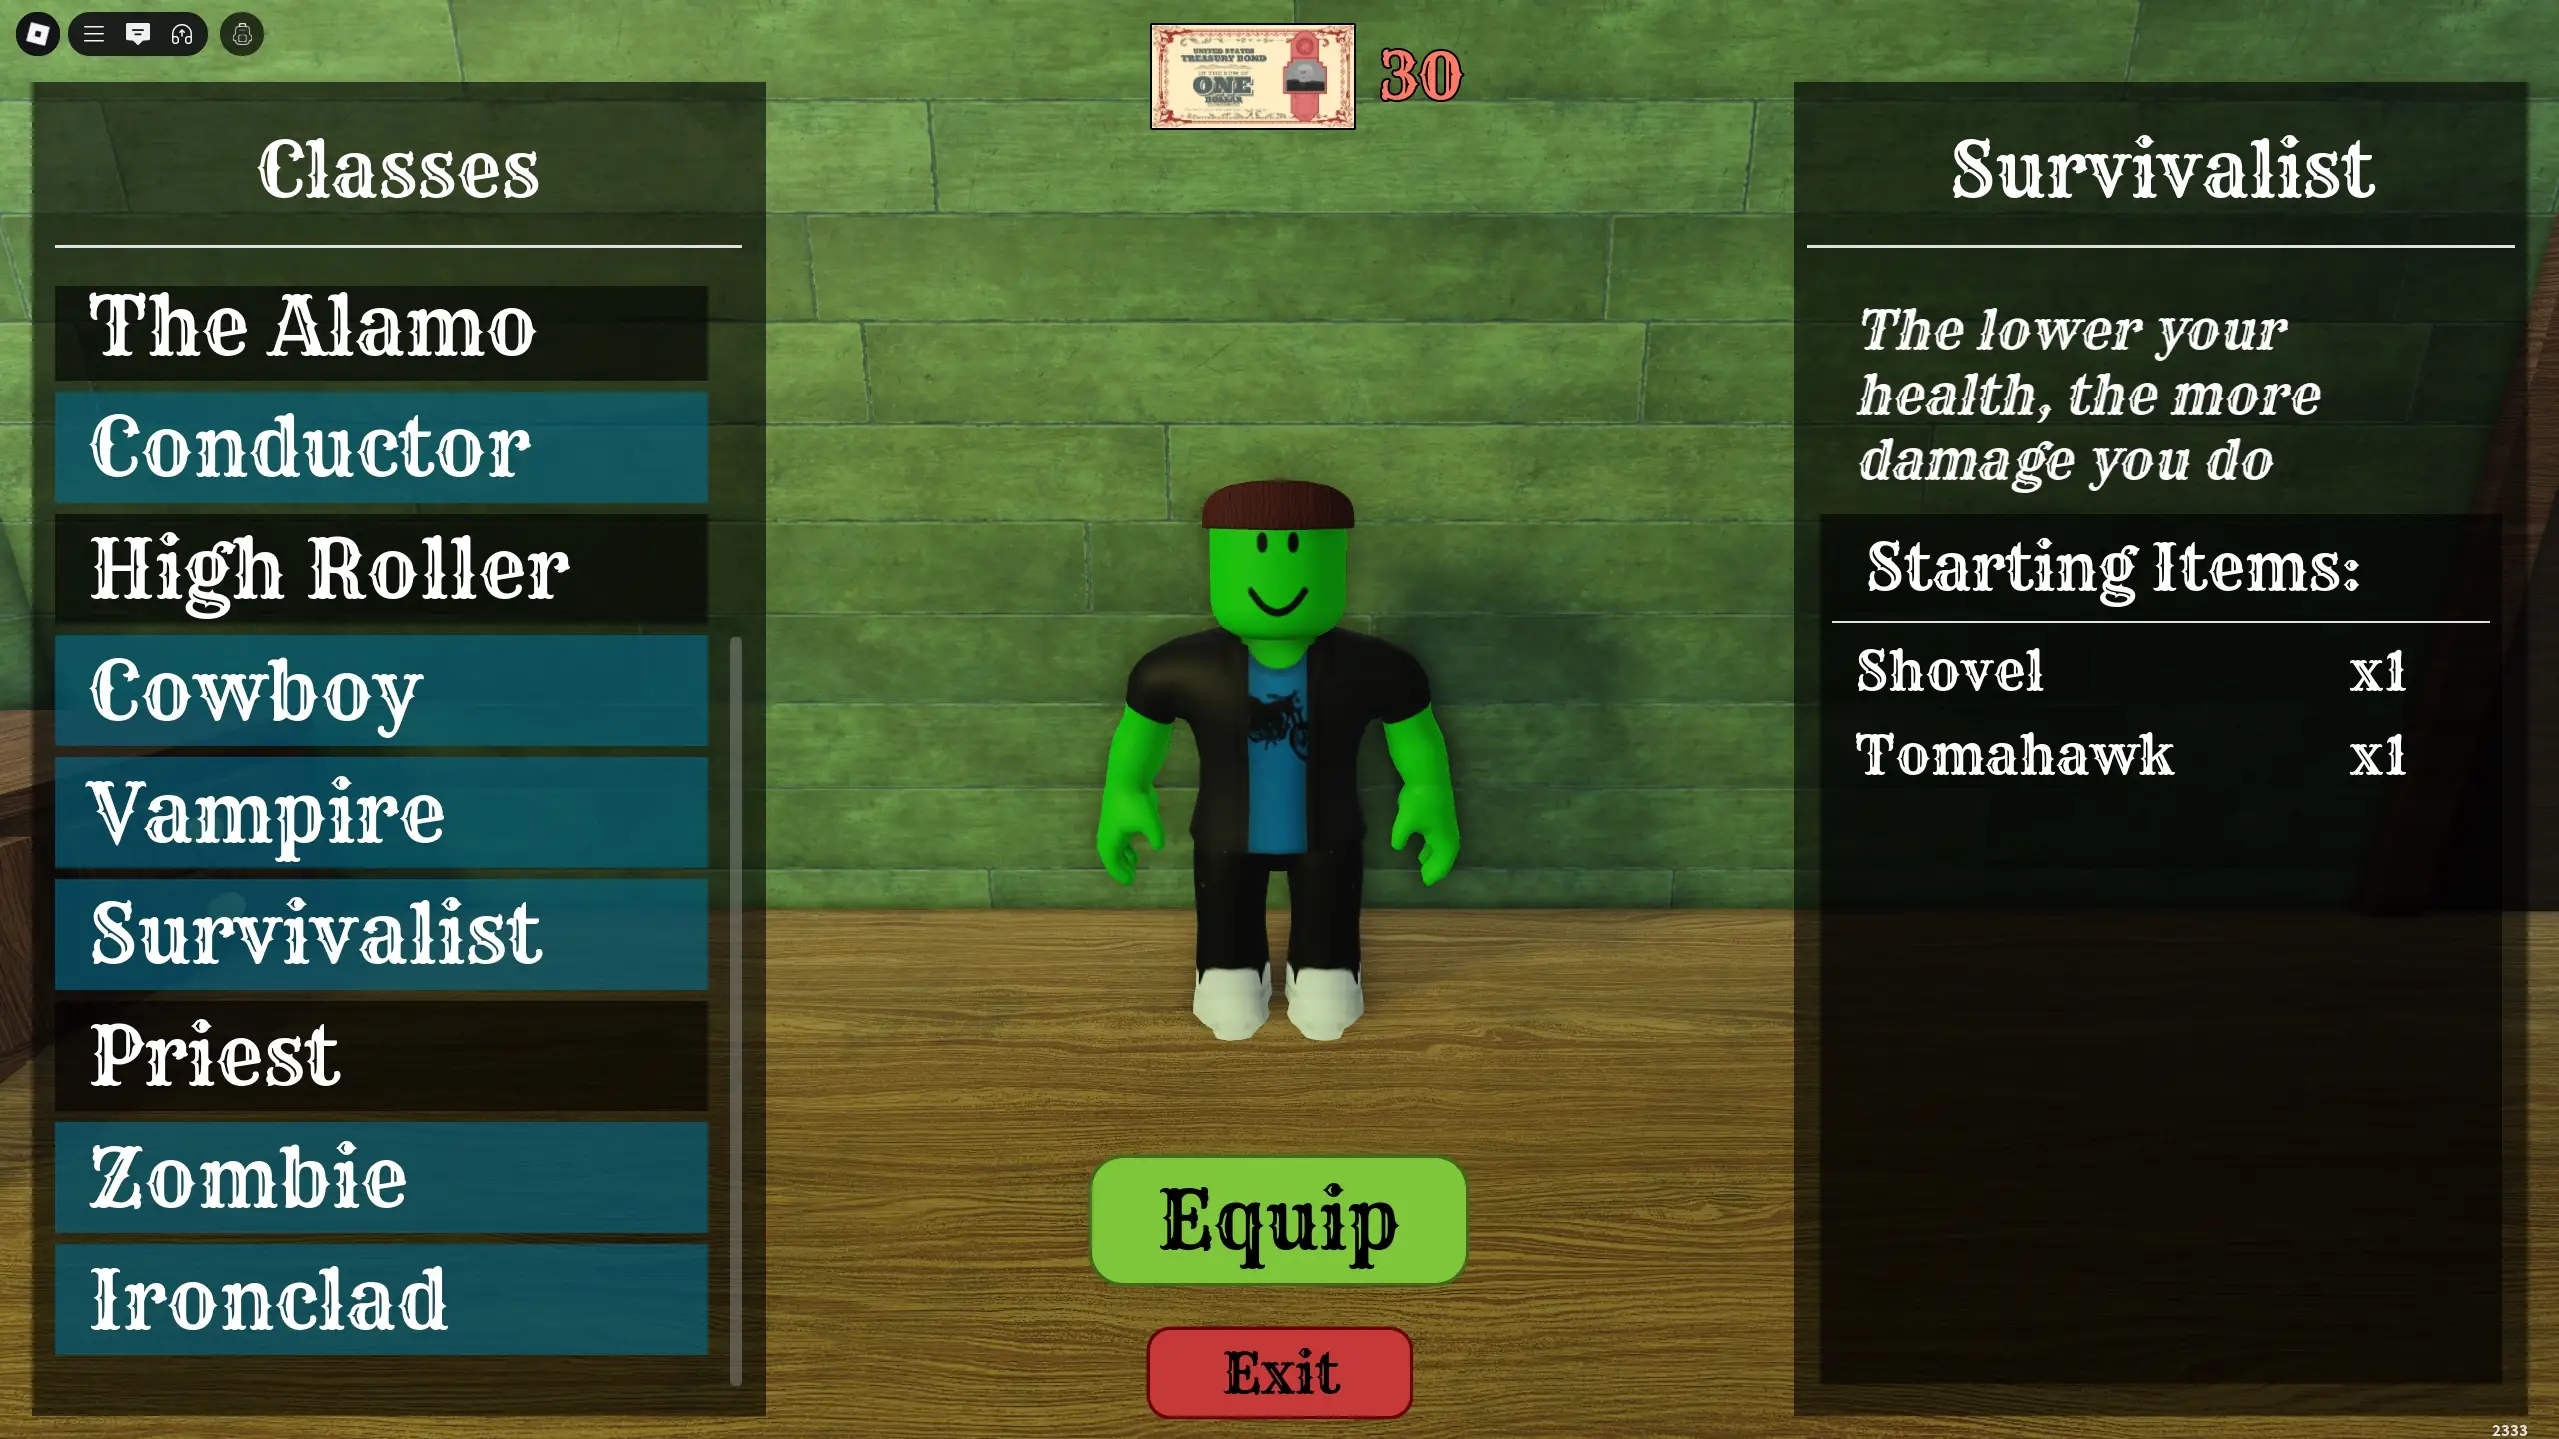
The Survivalist
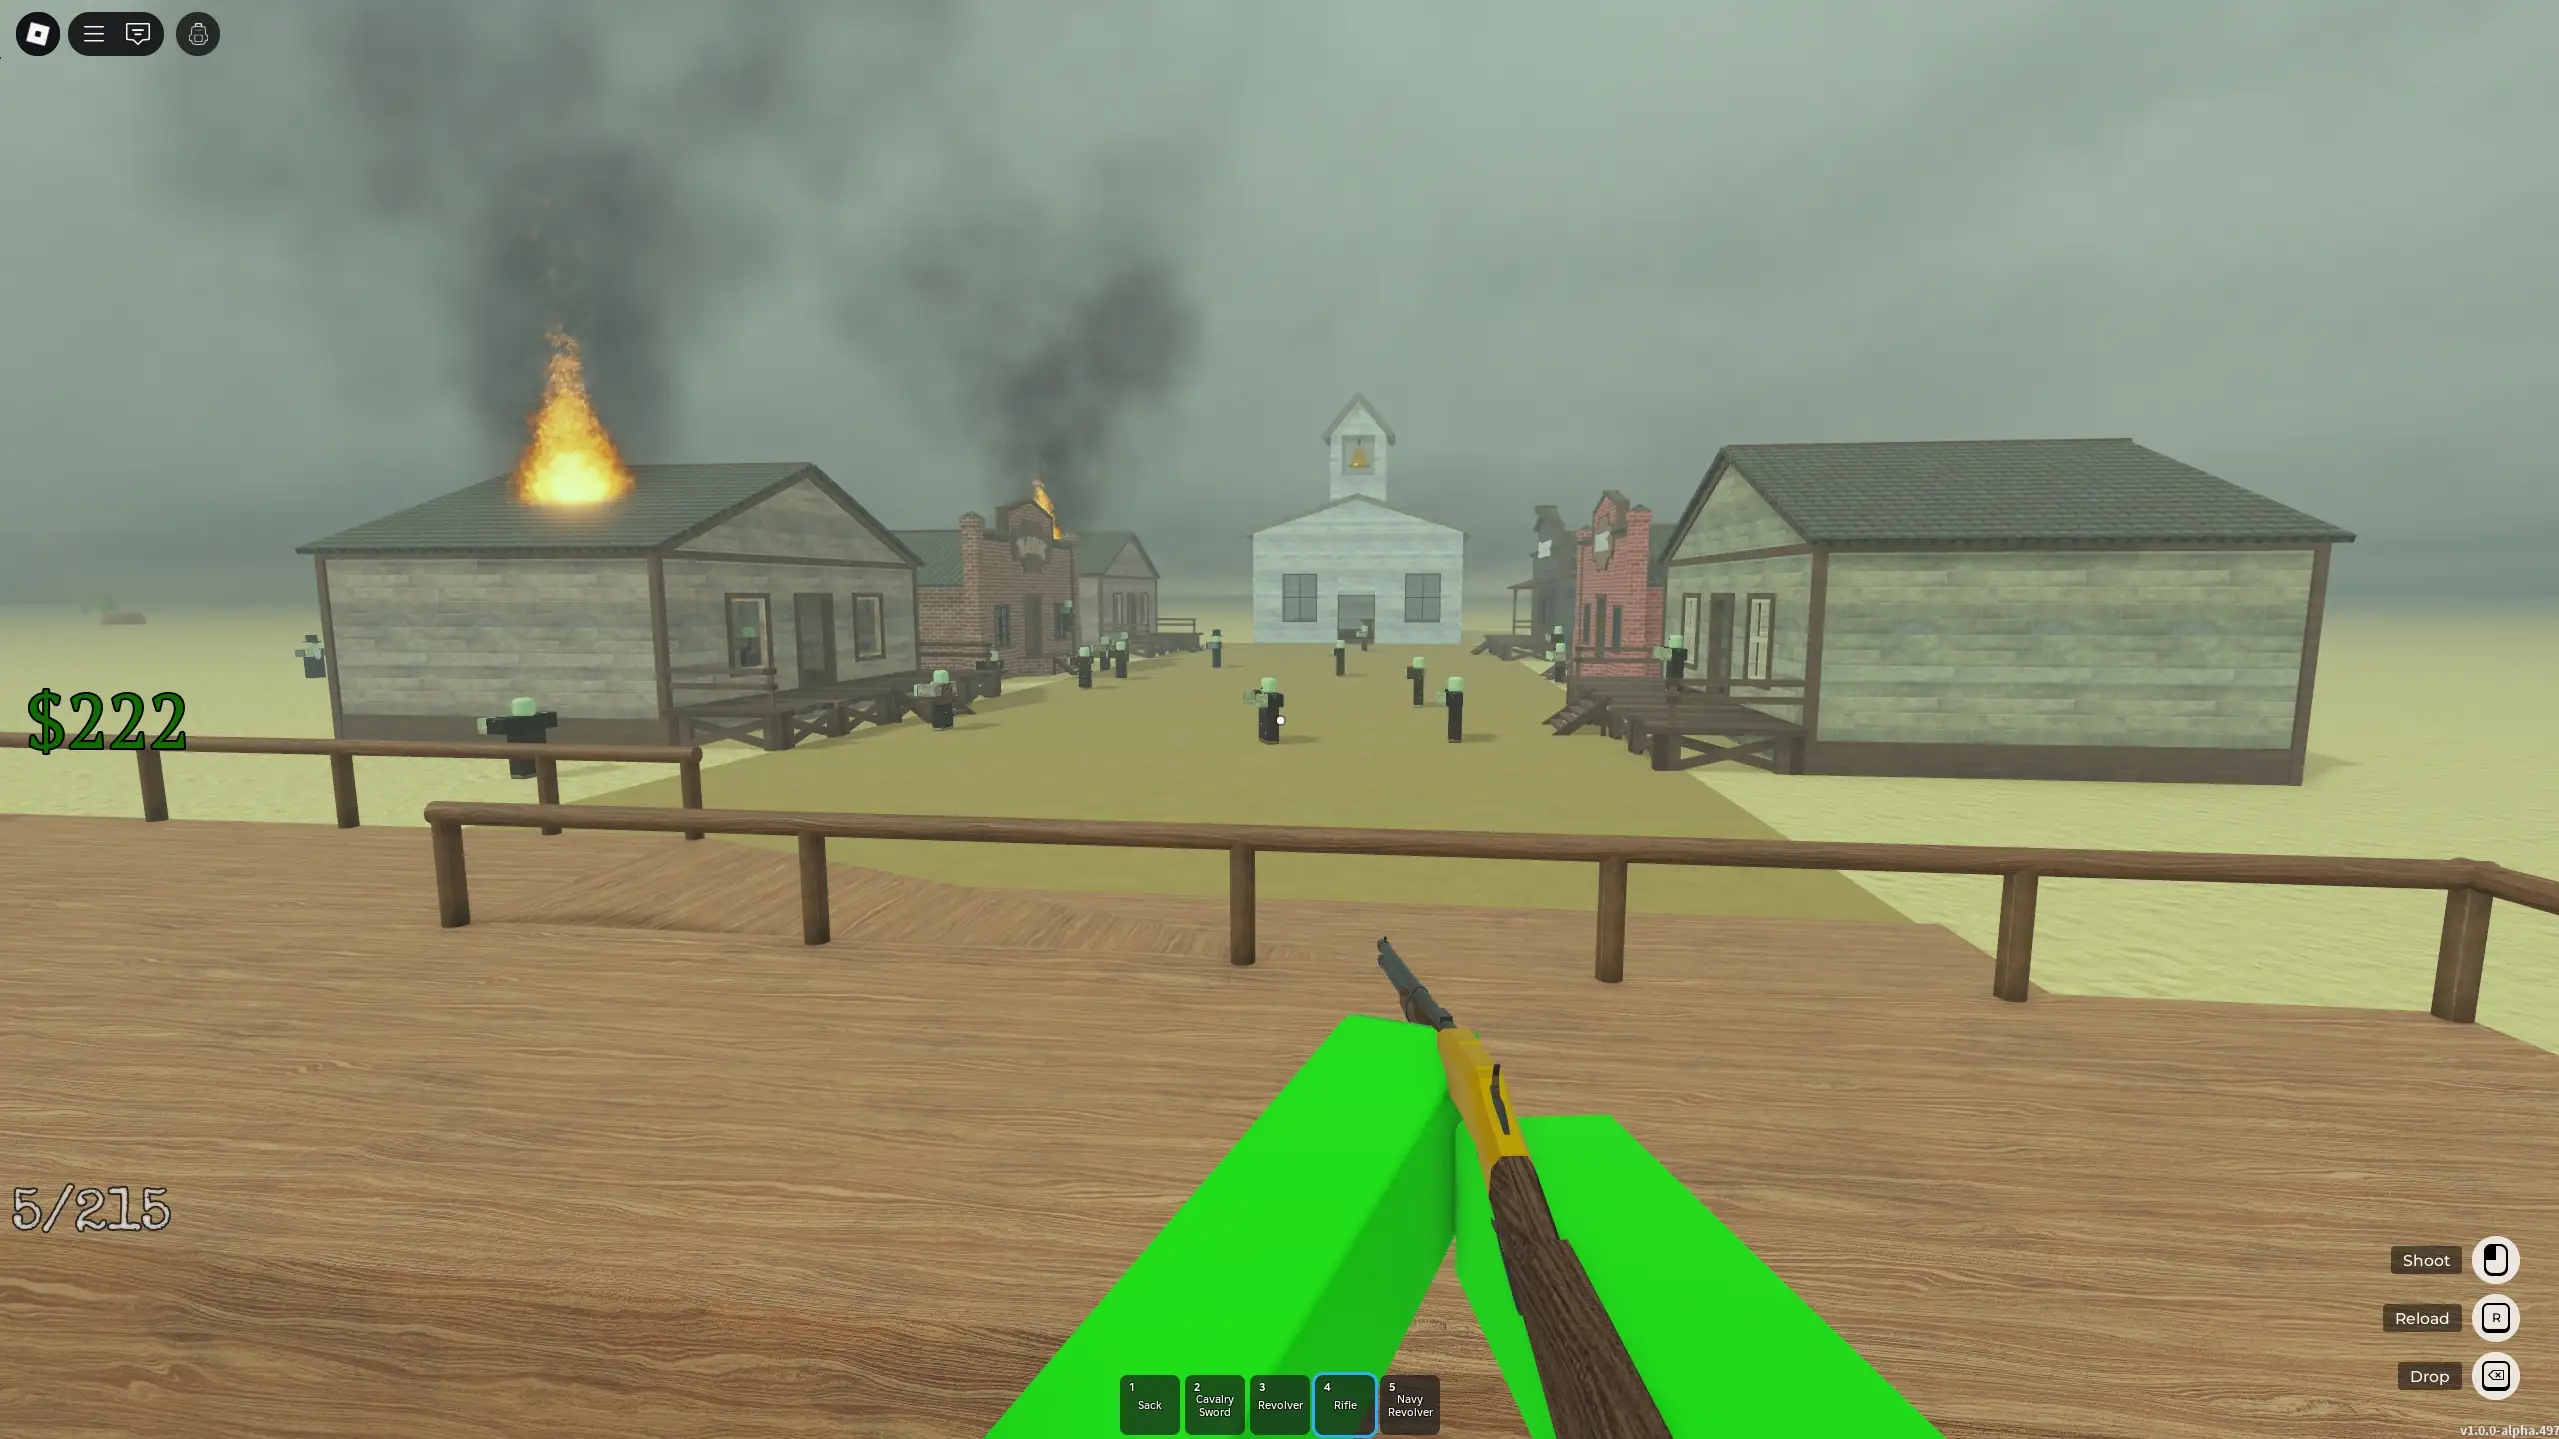
The two popular classes in the Dead Rails community are the Survivalist and Vampire by far. I prefer the Survivalist so I don’t have to deal with damage from the sun. While it is manageable, it’s annoying and forces you to play a certain way. Plus, it revolves around the Vampire Knife when I prefer to use ranged weapons.
The Survivalist may not have fancy starting items but it does have a damage boost that follows throughout your entire run. You’ll benefit from extra damage at full health which further increases as your health gets lower. This can make weaker ranged weapons like the Revolver one-hit zombies when you’re low health. You may not need the Survivalist’s extra damage on Normal difficulty, but it’s great to have in Nightmare Mode.
Dead Rails Class Tier List
Now that we know what the best class is, let’s dive into the tier list for where each one ranks. As I previously mentioned, everyone will have different preferences so don’t feel bad if your preferred class isn’t high on the list. And if you think it should be, be sure to let us know why in the comments below!
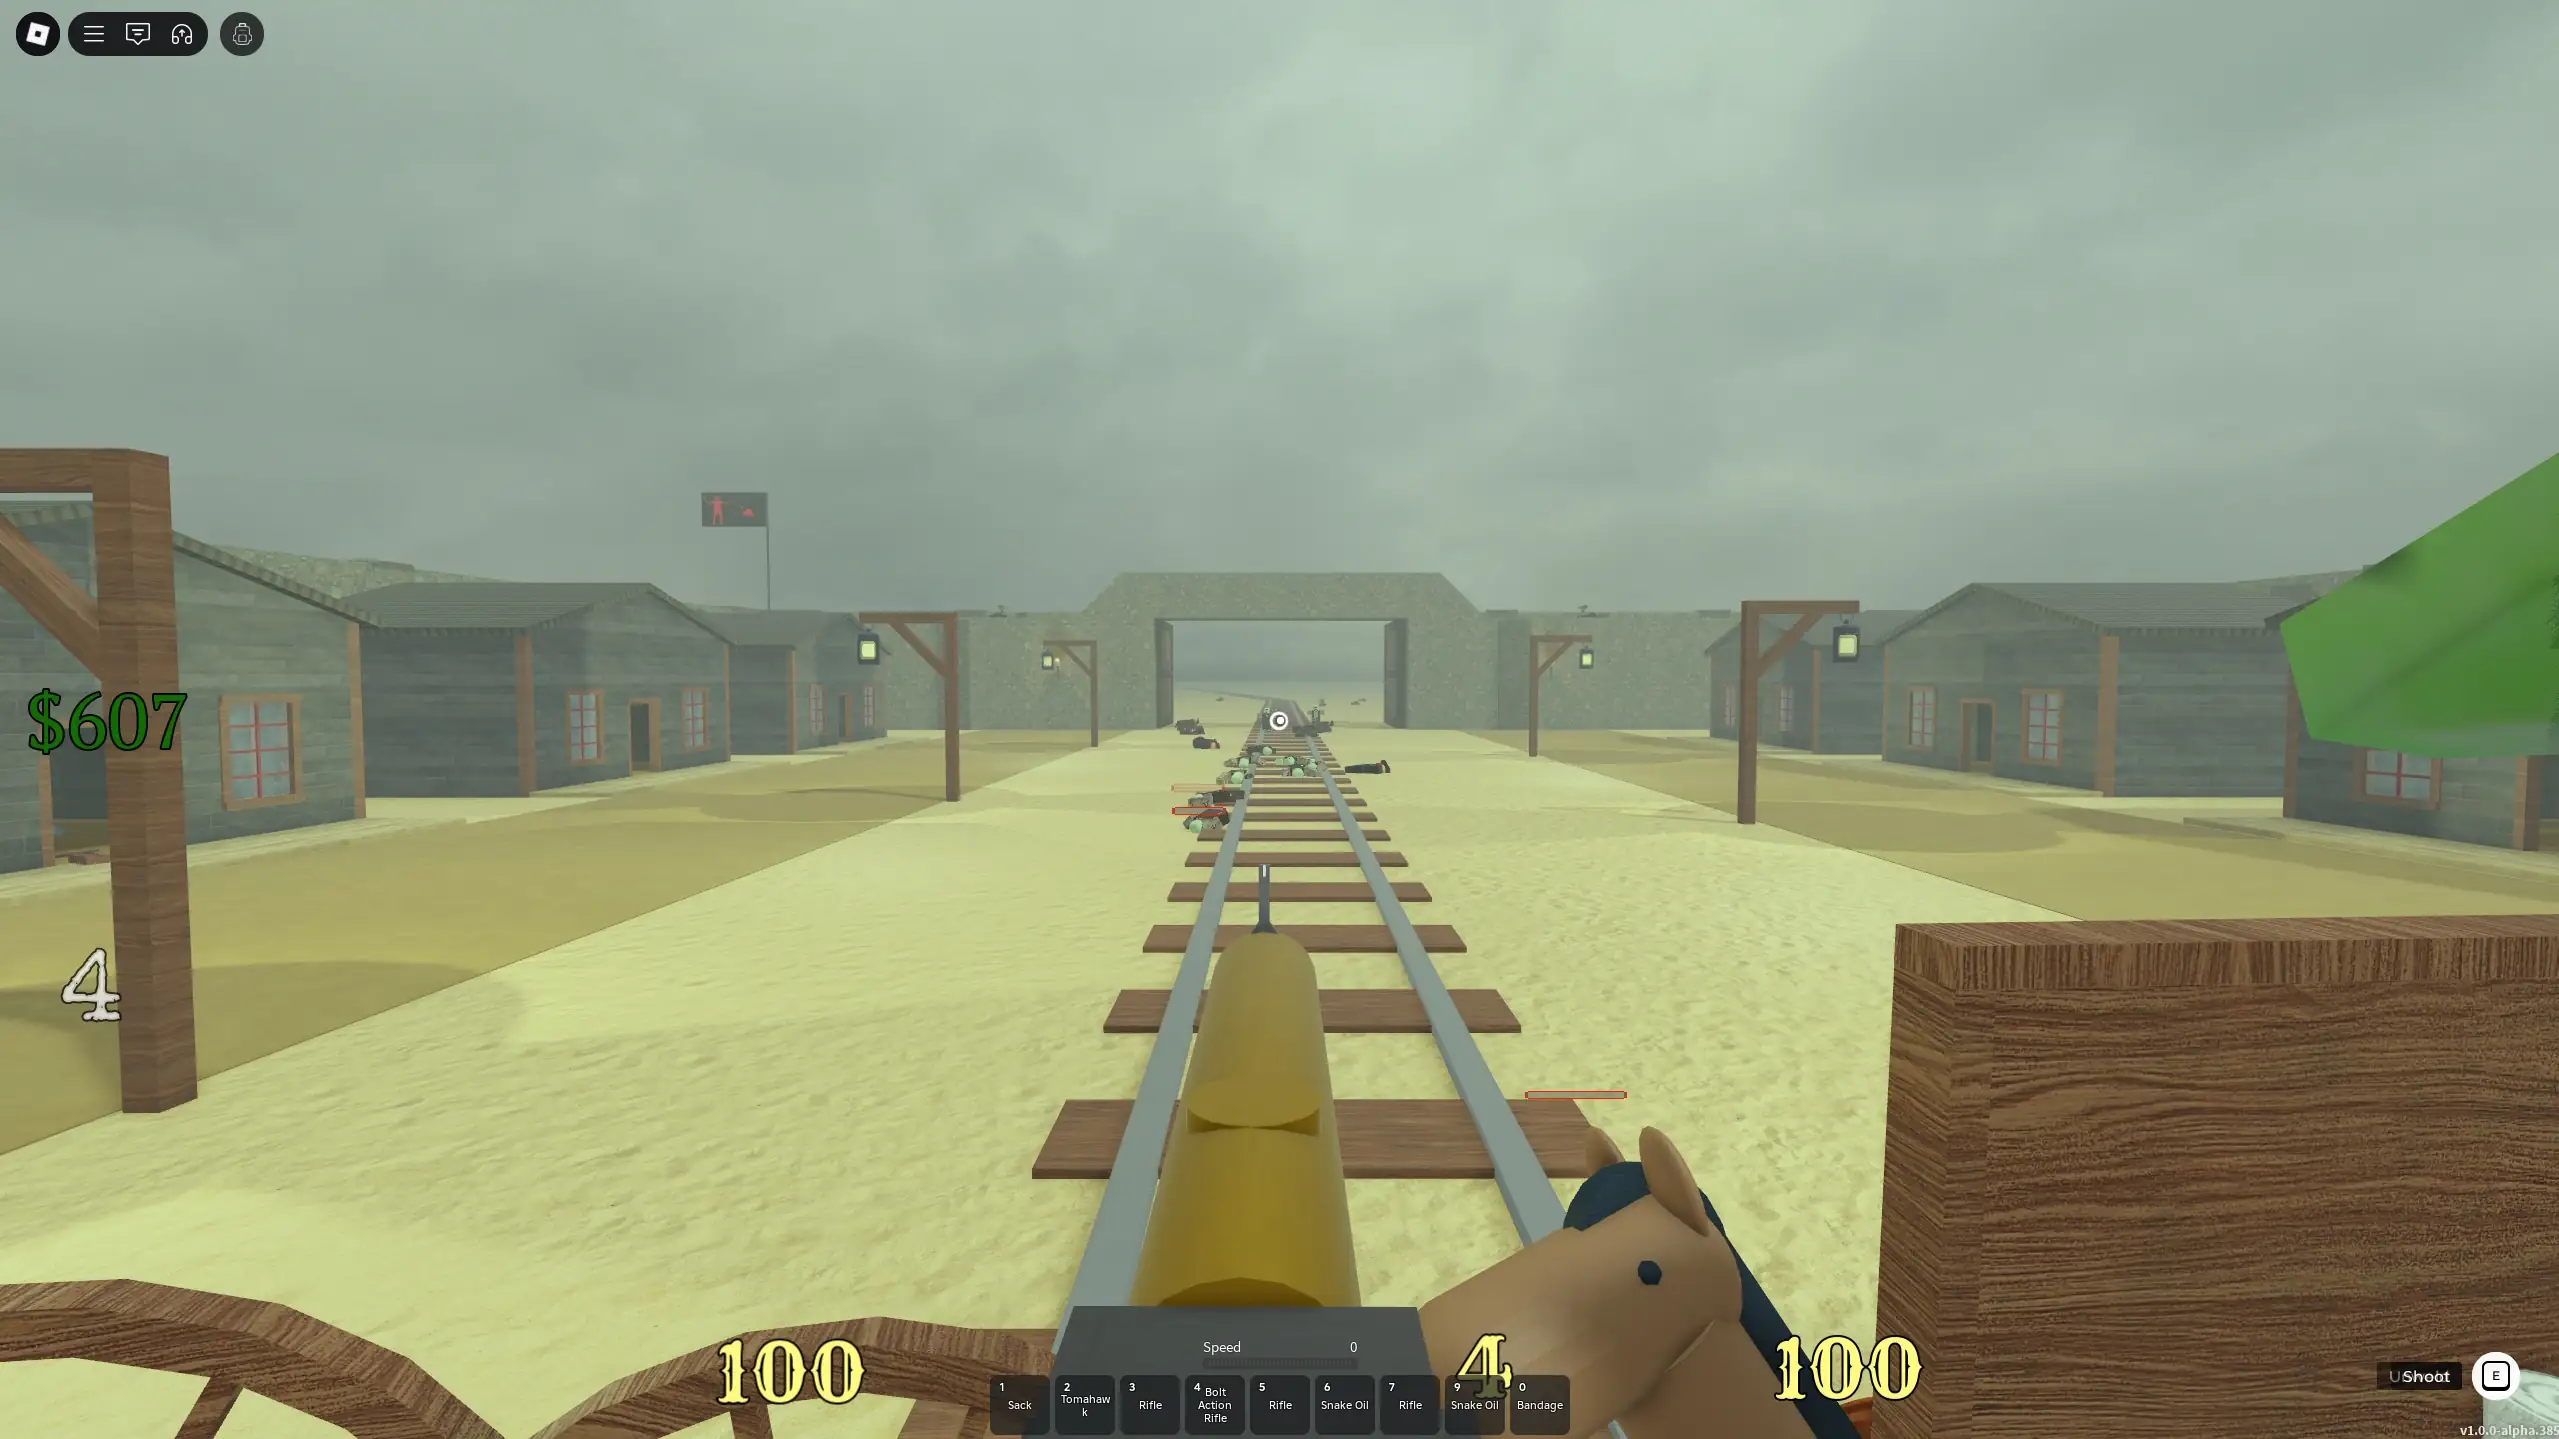
Side Note: I didn’t include no class/None since it doesn’t have any benefits but you can play that way intentionally as a handicap. Also, I didn’t include the Horse class from the temporary Horsing Around event which gives you a speed boost.
| Tier | Class | Notes | Price in Bonds |
| S | Survivalist | Survivalists deal more damage the lower their health is. They start with a Shovel and Tomahawk. | 75 |
| S | Vampire | Vampires move fast, deal more melee damage, and take damage in sunlight. They start with a Vampire Knife and Shovel. Their fast movement and life steal Vampire Knife work well together. | 75 |
| A | Werewolf | The Werewolf gains double speed, damage, and health at night, with everything reduced to .9x during the day. While this means you’ll be at a loss for most of your run since daytime is longer, you can plan to tackle tough areas and the end boss at night. Their double damage buff is especially useful in Nightmare Mode. They start with a Shovel. | 50 |
| A | Cowboy | Cowboys have a great early game starting with a Revolver, a horse, two stacks of Revolver Ammo, and a Shovel. | 50 |
| A | Miner | Miners are an excellent cheap choice where you can make a lot of money and get Coal from mining rocks. They start with a Mining Helmet, two Coal, and a Pickaxe. | 15 |
| A | The Alamo | The Alamo is a good option for fortifying your train early on as well as getting a free Helmet. They start with a Helmet, three Metal Sheets, 3 Barbed Wire, and a Shovel. | 50 |
| A | High Roller | The High Roller is great for making money especially when playing in a group. Just make sure to keep a Lightning Rod nearby during storms since you’re more likely to be struck. This class falls off late game since you’ll have a decent chunk of money regardless. They start with a Shovel. | 50 |
| A | Conductor | The Conductor is popular for speedrunning since they can drive the train quicker but you may only want to pick them in a team. They start with two Coal, but no weapon. | 50 |
| B | Doctor | Doctors start with healing items and can revive teammates by sacrificing half of their health. You can also sell your starting items to get an extra $40. They start with a shovel, two Bandages, and two Snake Oil. | 15 |
| B | Necromancer | The Necromancer has a 25% chance to reincarnate enemies killed with a melee weapon but you’ll lose 10 health. The idea of creating an army of enemies is cool but you have no way of keeping them with you. This makes them only temporarily useful in major areas. Combining the 25% with a Jade Sword for another 50% is great but you’ll probably die from the 10 health loss unless you have a Musician with you. They start with a Shovel. | 35 |
| C | Arsonist | Arsonists are situational as they deal double fire damage via Molotovs. They start with a Shovel and four Molotovs. | 20 |
| C | Ironclad | The Ironclad is valuable in that they start with full armor but they suffer from a -10% movement speed debuff. This alone may end your run while also slowing the entire pace of the game down. You can offset the debuff with a horse. | 100 |
| D | Priest | Priests start with powerful items and have an immunity to lightning strikes. The immunity is nice to have but not necessary since you’ll likely find Lightning Rods. They start with a Shovel, two Crucifixes, and 2 Holy Water. | 75 |
| D | Musician | The Musician slowly heals nearby teammates using their Banjo. This is a neat idea for a support class but they have no benefit during solo runs. I like the idea of pairing them with a Vampire or Necromancer. Just keep in mind, if they’re healing, they can’t fight since they have the Banjo out. They start with a Banjo. | 15 |
| D | Zombie | Zombies are unique in that they can’t use healing items but can eat corpses for health. They also have a lower detection radius for avoiding enemies. Not having Snake Oil is tough since you can’t heal quickly during bad situations. They start with a Shovel. | 75 |
| D | Packmaster | The Packmaster is another situational class that is probably only worth it for the Dances With Wolves challenge. They start with a Shovel. | 35 |
If you’re not sure how to get Bonds for unlocking classes, we have a guide here that covers that. Otherwise, that’s all there is to our guide on the best Dead Rails classes and tier list to help you out. Be sure to check out some of our other guides for useful tips!


Jeff is a journalist with over 10 years of experience writing, streaming, and making content about video games. With an associate degree in journalism, he’s a sucker for RPGs, survival games, roguelikes, and more.