If you’re a fan of survivor-like games or even just Deep Rock Galactic, you may have heard about Deep Rock Galactic: Survivor. This is a creative spin on that universe that delivers a ton of reverse bullet hell action. Prepare for the chaos using our best tips and tricks list below.
Tip 1 – Plan Around Weapon Synergies
I have a habit of going all in on one weapon but it’s important to try and synergize your entire build. For example, as the Scout, you may want to get a bunch of weapons with the Light and Kinetic tags. This guarantees when you get an upgrade that has one of those tags, it’ll apply to each weapon. Such as a damage boost for all Kinetic weapons.
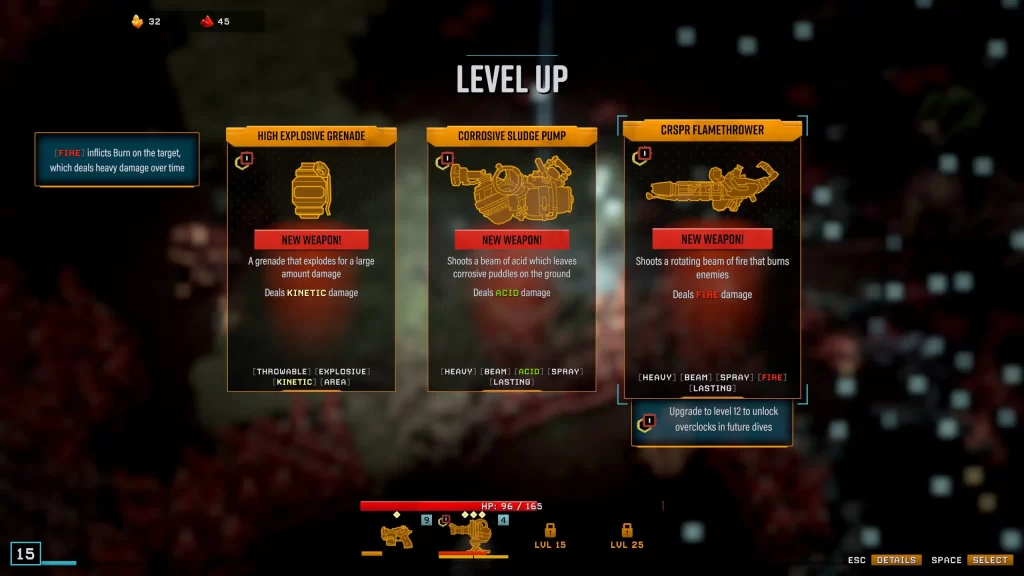
There’s a useful trick to know what weapons an upgrade applies to as well as how many weapons have similar tags. First, when hovering over an upgrade, you’ll see blue arrows above each weapon that it applies to. Second, when hovering over a new weapon, you’ll see little yellow nodes above each weapon it has a tag in common with.
Tip 2 – Use Exploders to Your Advantage
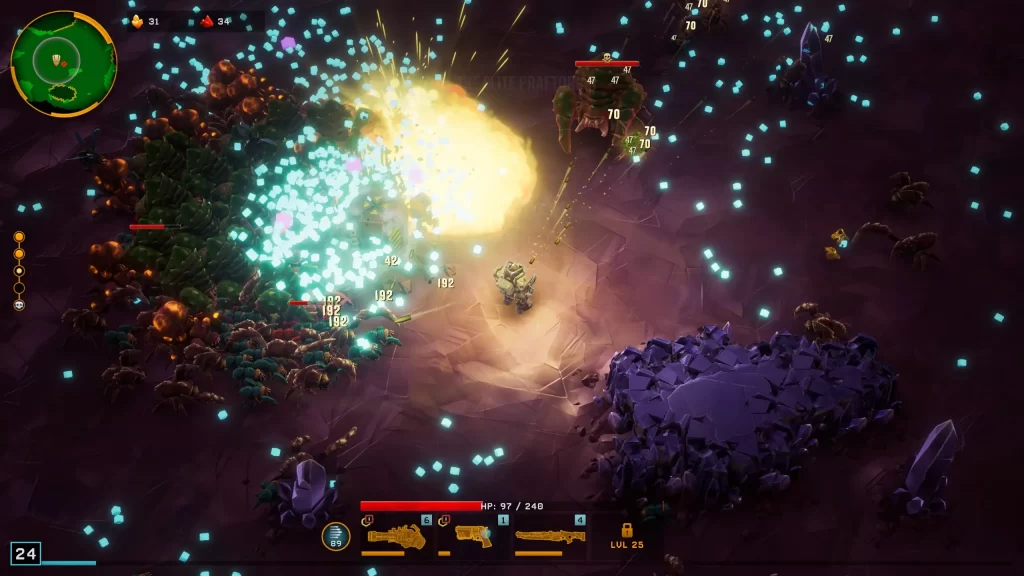
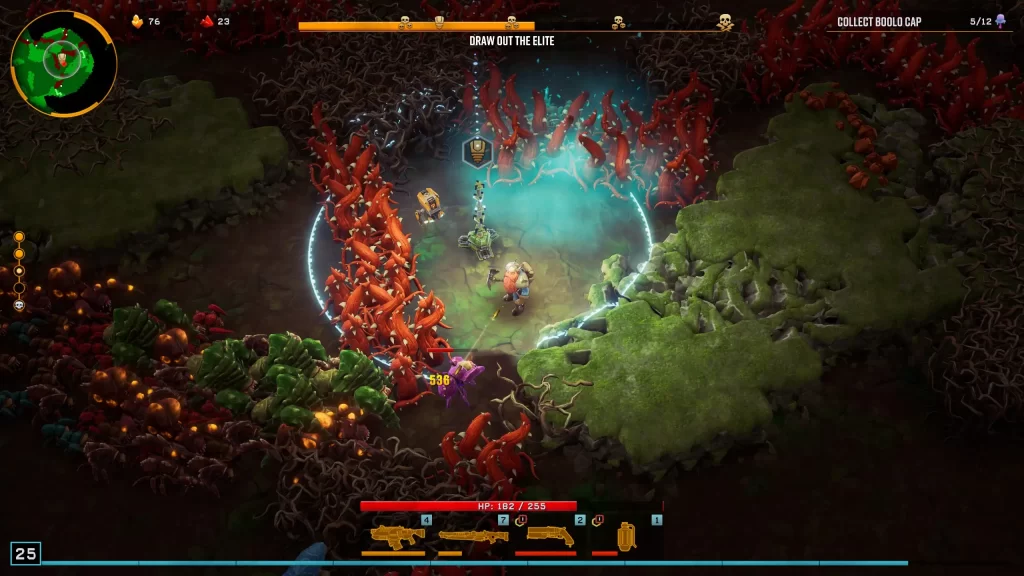
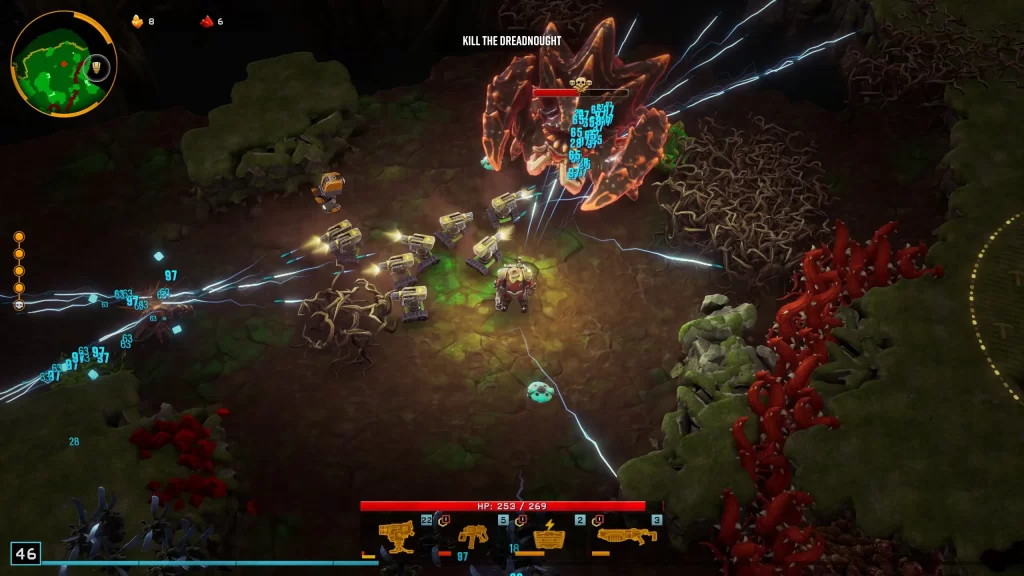
Whether you’re new to the Deep Rock Galactic universe or not, Exploders are powerful in Deep Rock Galactic: Survivor. Typically, you’d want to stay away from these bright orange bugs. However, you have enough time to run near them and back before their explosion hits you. This works well for taking out large bug swarms.
Which can also lead to a fun situation if you get a chain reaction between multiple Exploders. Alongside Exploders, you can also use the Supply Drop to land on Elites and even Bosses for massive damage. Unlike the normal Deep Rock Galactic game, you can’t pick where the Supply Drop lands, unfortunately.
Tip 3 – Keep an Escape Route Available
Deep Rock Galactic: Survivor throws massive swarms at you regardless of your Hazard level. This is why it’s always important to have an escape route in mind. Otherwise, the bugs may surround you and that can lead to a quick loss. Unless you’re strong enough to plow through them.
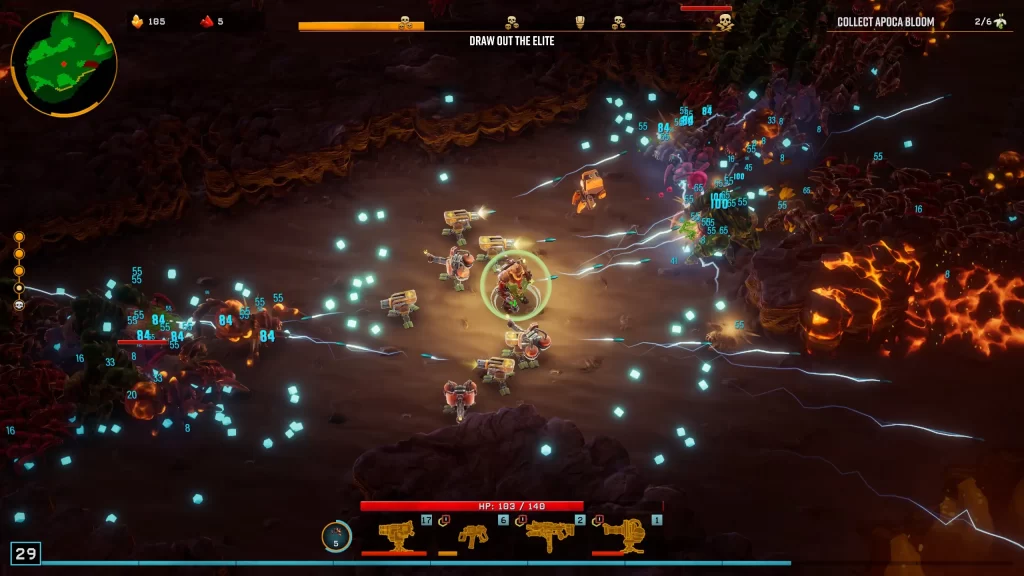
One of the unique ways this survivor-like game stays true to its source is that you can still mine the terrain. Sometimes I’ll mine a path to escape or create a bottleneck for funneling bugs. Which works impressively well for the Engineer when you have turrets in your kit.
Tip 4 – Don’t Forget About the Minimap
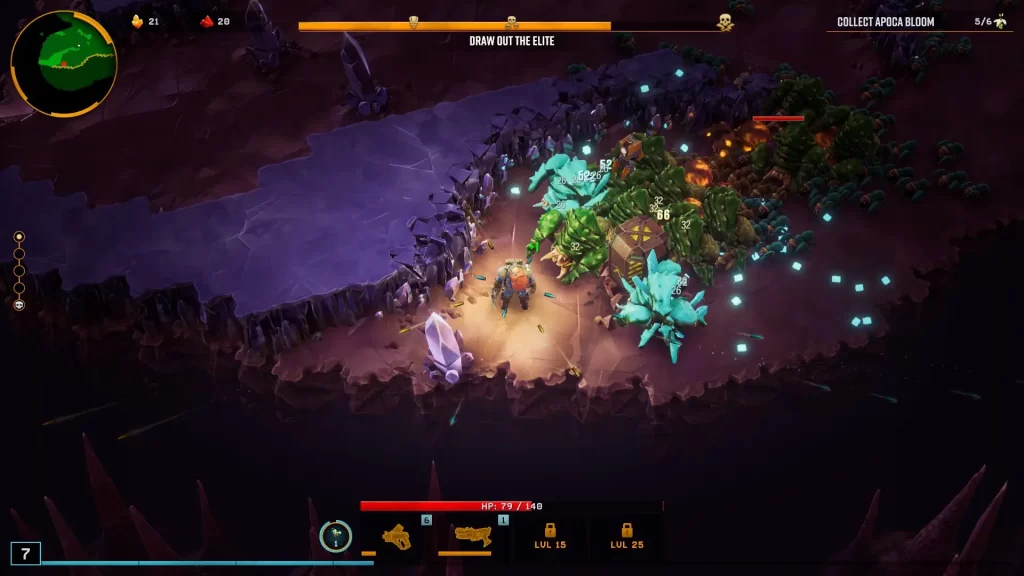
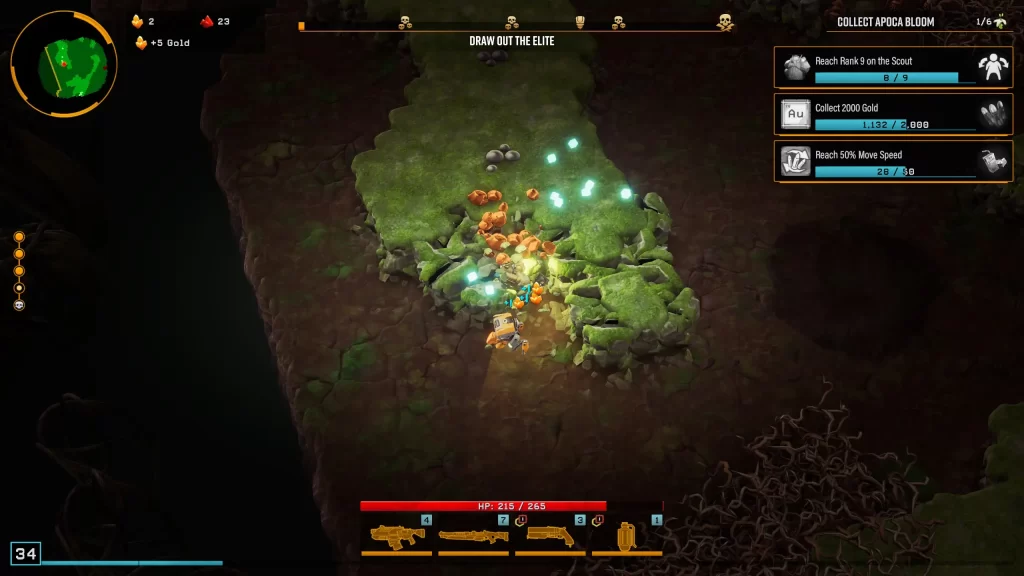
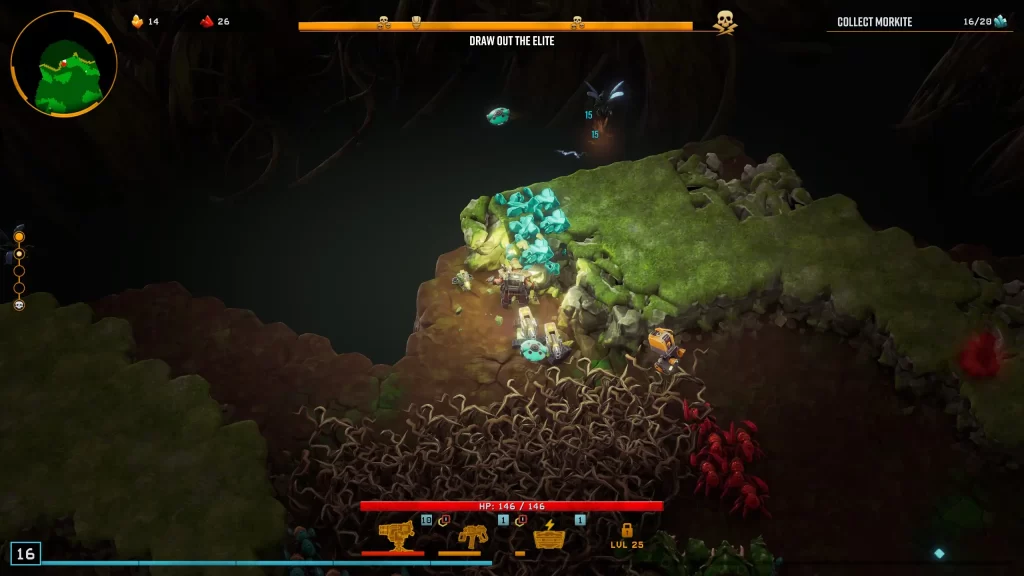
The minimap at the top left corner is a great way to find resources and objectives. While it blatantly highlights objectives white, you can also see resources like Nitra and Gold. They’re just not as pronounced. I mostly find it helpful with tracking down Apoca Bloom flowers or Morkite veins to mine.
The minimap also helps with knowing where magnet powerups are if you’re waiting to grab it. Sometimes the magnet drops too early in a dive and you’re better off waiting for more experience to accumulate.
Tip 5 – Know What Each Resource Does
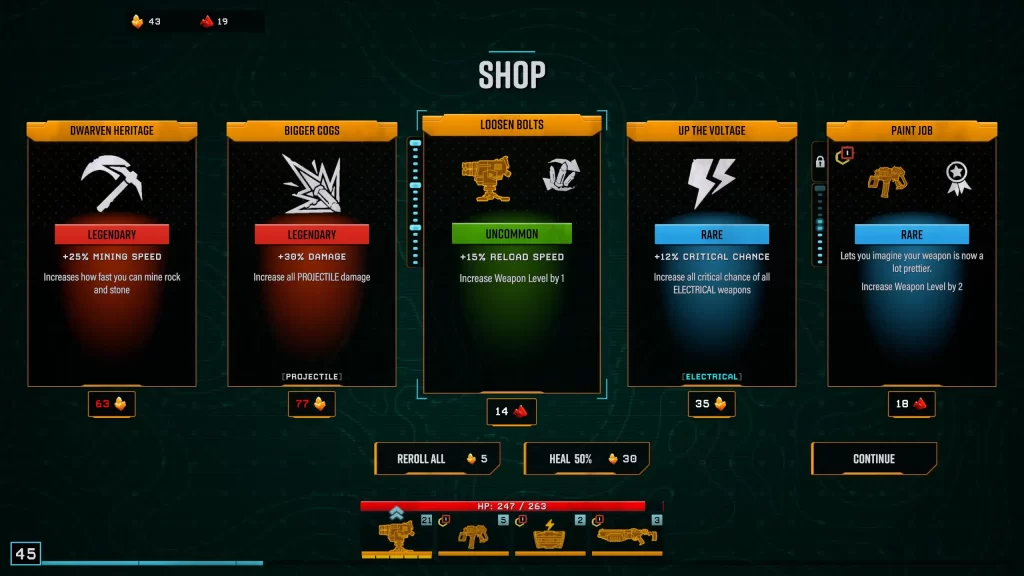
Deep Rock Galactic: Survivor has many of the same resources that the main game does but they work slightly differently. Instead of using your Magnite and Croppa on class upgrades, you’ll use them for meta progression. And while you can’t use Nitra to summon a Supply Drop, you can use it to buy upgrades in the shop. Which is the same with Gold.
The not-so-fun balancing act is deciding when to mine each resource type during a dive. Unique resources like Magnite and Croppa will contribute to later runs but not your current one. So if you’re struggling to stay alive, do you put the time in for later, or focus on Gold and Nitra instead?
Tip 6 – Understand the Meta Progression
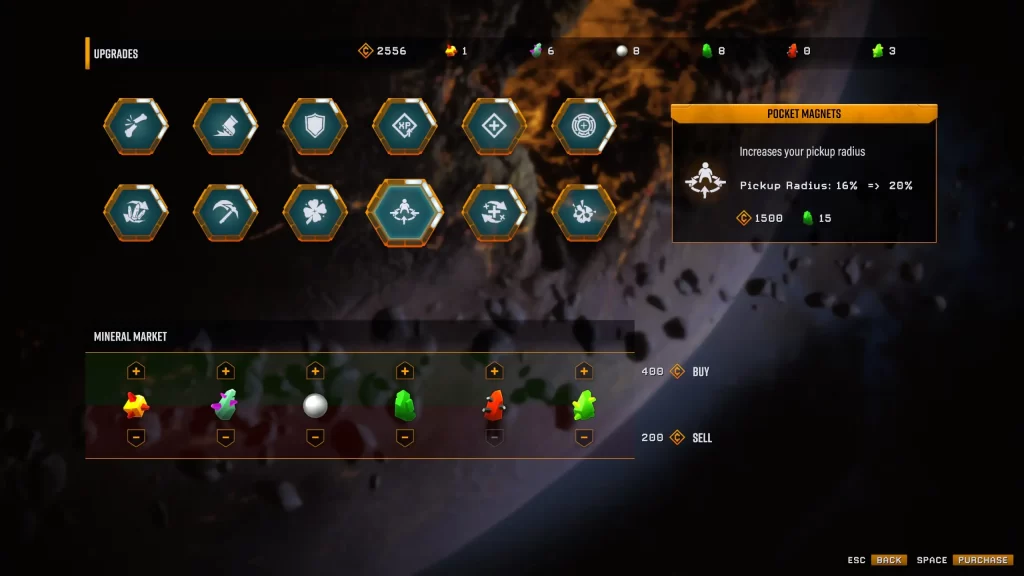
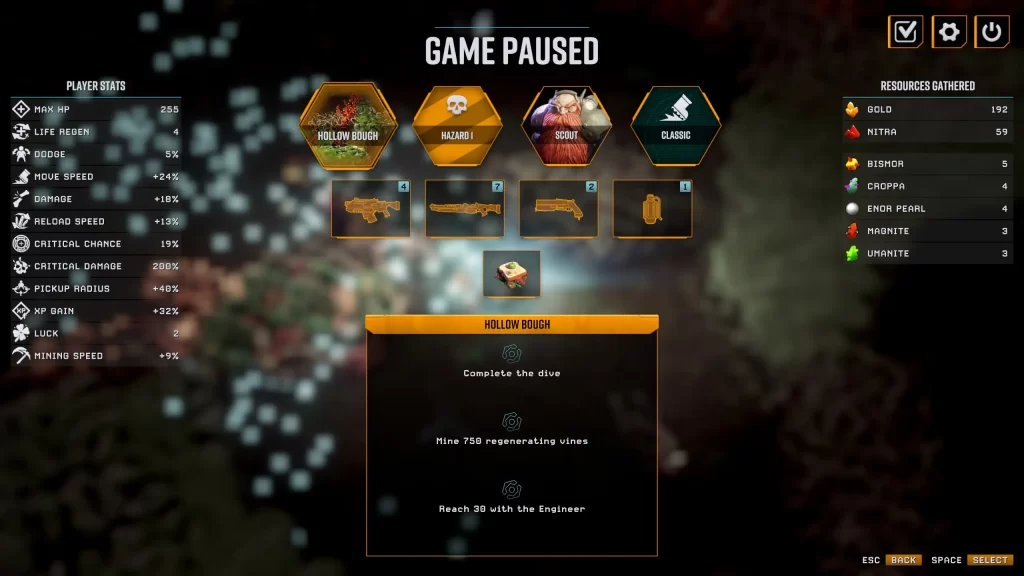
As goes with many survivor-like games, most of them have meta progression. In Deep Rock Galactic: Survivor, it revolves around the unique resources mentioned in the previous tip. You can spend them at the main menu to get upgrades like increased damage, movement speed, more xp, and my favorite, increased pickup radius.
The advantages you get from all these little passives can be a game-changer in surviving the tougher Hazard levels. Alongside needing resources, you’ll also need to know how to get credits. Fortunately, it seems to be as simple as just playing the game. Here are a few examples of the credits I’ve gotten:
- 2892 credits on Hazard 1 after completing a full dive
- 2473 credits on Hazard 1 after completing 4/5 stages
- 812 credits on Hazard 3 after completing one stage
Tip 7 – How to Overclock in Deep Rock Galactic: Survivor
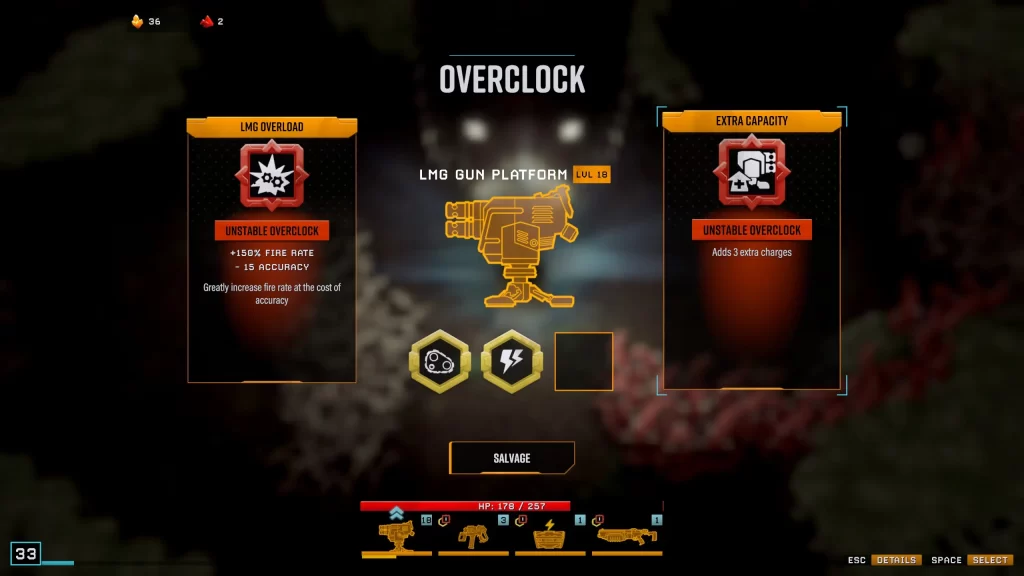
Before you can get overclocks for a weapon, you’ll need to reach level 12 with it first. This meta progression can be a little annoying since it relies on you leveling a weaker weapon. Along the way to level 12, you could have gotten two overclocks if you didn’t need to unlock them first. So you kind of have to sacrifice some DPS.
With that said, once you get to level 12 on it, you can start equipping overclocks every 6 weapon levels on future dives. These can vary similarly to the main game as far as being balanced overclocks, unstable, etc. And you’ll have two choices to pick each time. One of my favorites is the Engineer overclock that makes your turrets follow you.
Tip 8 – How to Unlock New Classes
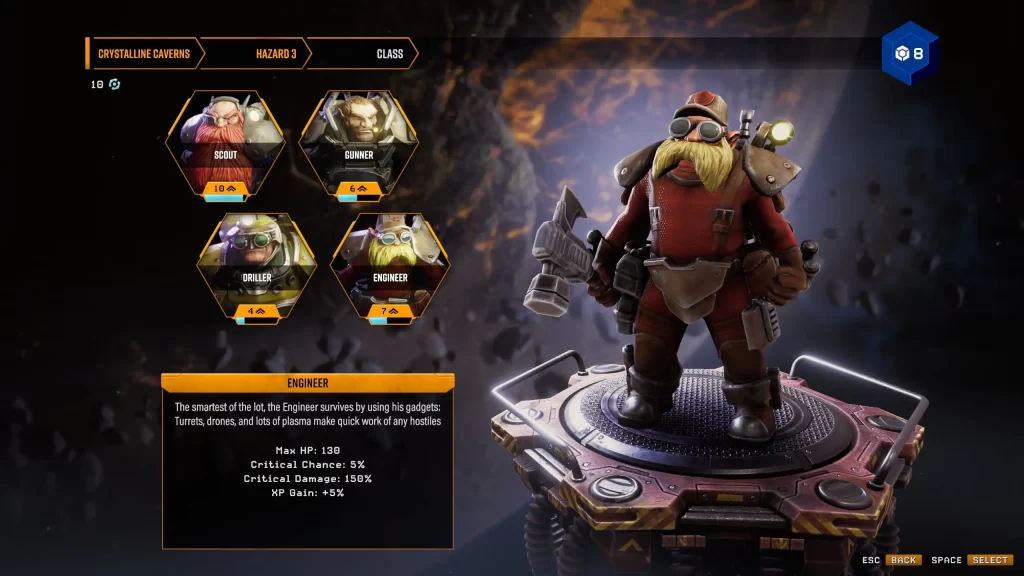
There are only four classes in Deep Rock Galactic: Survivor and you start with the Scout. So if you’re wondering how to unlock the Engineer or one of the others, here’s how. Each new class requires reaching a certain rank level:
- Gunner: Rank 3
- Engineer: Rank 5
- Driller: Rank 7
Tip 9 – Get the Most Out of Your Time
The bar at the top center of your screen indicates when certain events will occur. Such as an incoming swarm, a Supply Drop, or the elite/boss at the end. While swarms certainly make your run harder, the difficulty will continue getting tougher while fighting the boss.
Depending on how my run is going, I’ll sometimes farm minerals before defeating the boss. Because once you take them out, it’ll trigger the 30-second countdown forcing you to leave. So if you can survive while running away from the boss, you can get some extra resources and experience.
Tip 10 – Work Through the Biome Goals
If you want to unlock higher Hazard levels, you’ll need to complete the biome goals for each Hazard. These include objectives like complete the dive, collect 100 Nitra, upgrade a weapon to a certain level, etc. While certain ones can happen organically without much effort, others require paying attention.
Especially when you need to play as a certain class to complete them. For example, Hazard 2 on Magma Core requires upgrading the LMG Gun Platform to level 18. As far as I know, only the Engineer can get that weapon/turret.
Tip 11 – Don’t Ignore the Secondary Objectives
Secondary objectives are a good source of experience and some gold as well. One of the quickest ones you can complete is gathering Apoca Blooms since you just need to find them. As mentioned previously, you can use the minimap to help with this.
With that said, the Morkite mining secondary objective can be tougher if you don’t complete it quickly enough. Unlike the Apoca Blooms, you have to mine the Morkite and this can be difficult if you have a swarm nearby. But it really depends on your playstyle and class too.
Tip 12 – Sometimes It’s Good to Reroll
If you’re anything like me, you’ll probably not want to burn your Gold on rerolling. However, it’s sometimes worth it to get better upgrades when leveling up or to refresh the shop. I’ve had times when every shop upgrade required Nitra and I only had Gold to spend. So I rerolled it to get better choices instead.
That’s all there is to this Deep Rock Galactic: Survivor guide full of tips and tricks. It’s always nice to see developers coming up with unique takes on the survivor-like genre. Especially when many of the same weapons and items are found across them.

Jeff is a journalist with over 10 years of experience writing, streaming, and making content about video games. With an associate degree in journalism, he’s a sucker for RPGs, survival games, roguelikes, and more.

