After winning Dead Rails several times solo I’ve put together a list of the best tips and tricks. If you haven’t already read our Beginner’s Guide, I’d recommend checking that out first. Otherwise, hop into the tips below for an advantage going into this Roblox game!
Tip 1 – Barricade the Train Cabin
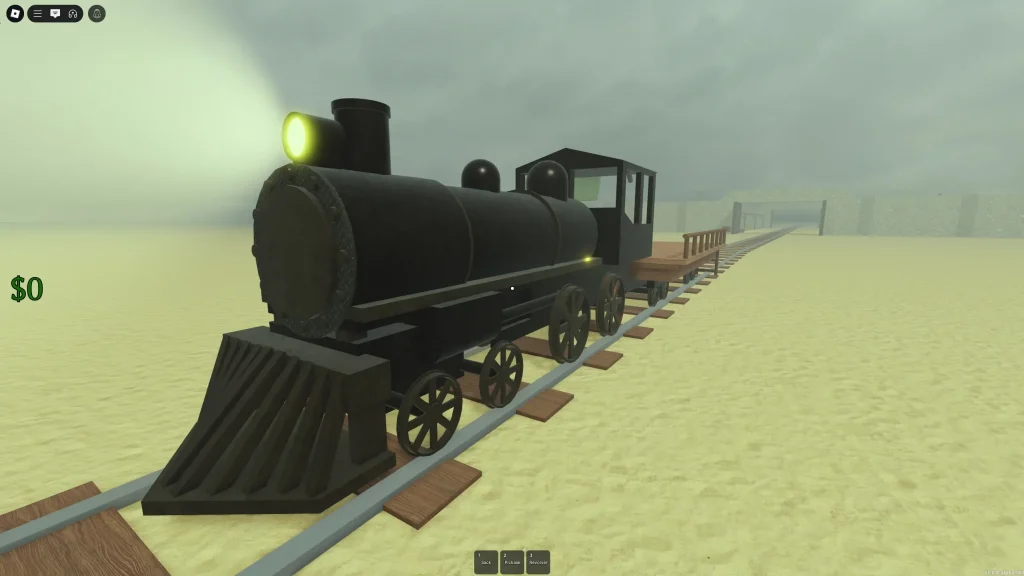
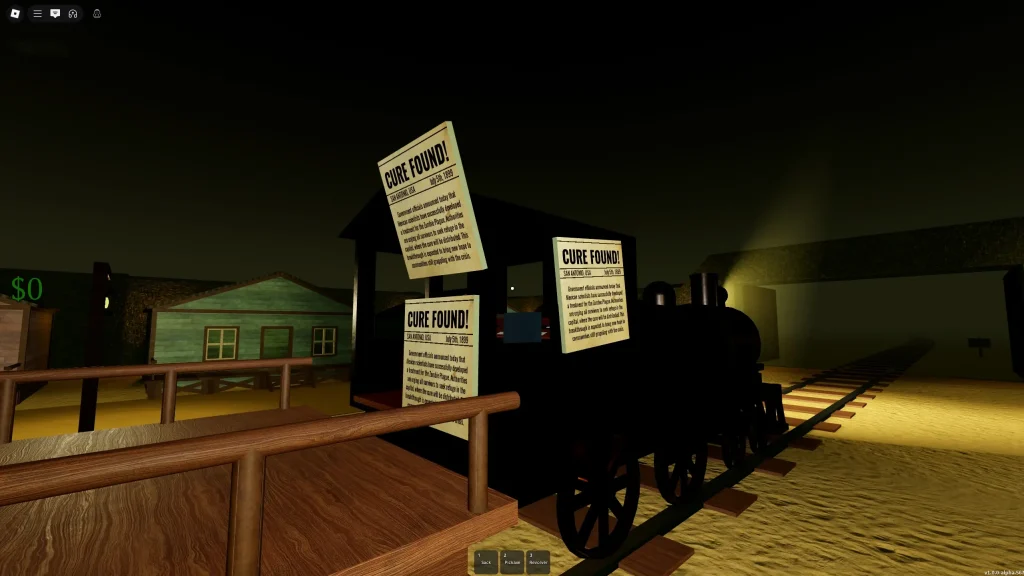
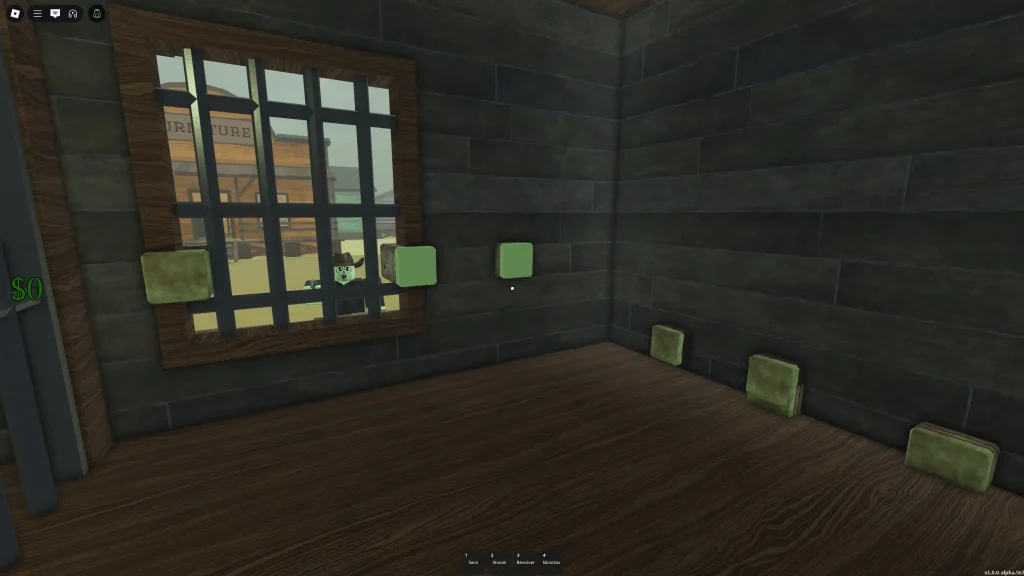
The train cabin where you drive and fuel the train should always be your safe room. When you first start Dead Rails, there are three newspapers in the outpost that you can grab. I recommend welding one to the train cabin window and the other two to the cabin entrance.
You should only block the entryway completely when you need to hide from enemies. This is a good way to survive the night if you’re not ready to deal with them. Especially if the night-time spawns werewolves. Fortunately for us, the newspapers are bulletproof so they’ll protect you from Outlaws as well.
Tip 2 – Keep Track of Time in Dead Rails
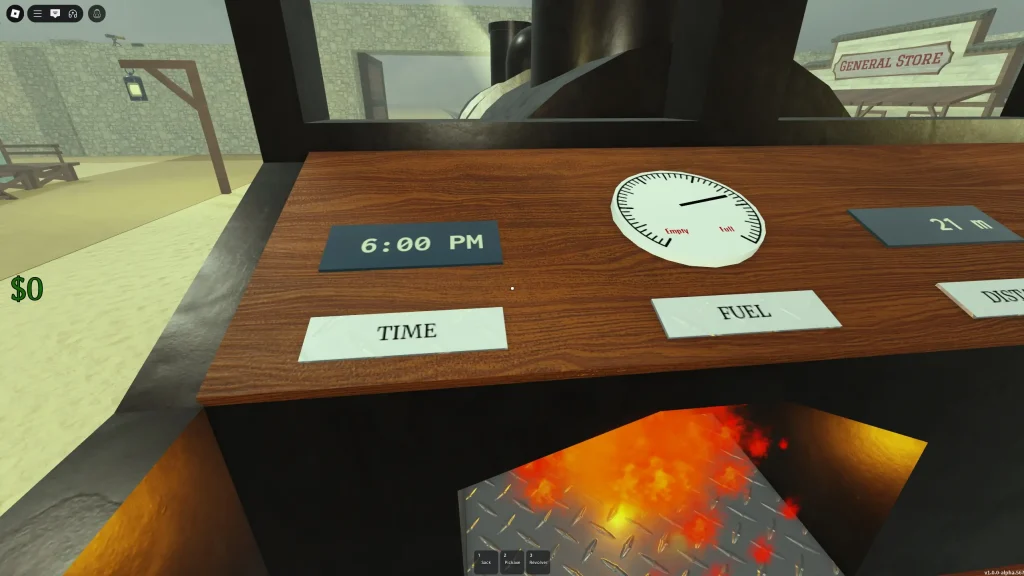
Keeping track of the in-game time will help you plan when it’s safest to wander. You can use the clock inside the train cabin to know what time it is. I wouldn’t recommend exploring areas like the Town of Sterling if night-time is coming soon.
The two important times are 5 a.m. when the sun rises and 10 p.m. when night-time begins. There’s a short delay before enemies will spawn when night-time triggers. But, all night-time enemies will disappear when 5 a.m. hits and the sun rises.
Tip 3 – Use Your Sack and Backpack
Many players probably know to use their Sack for transporting up to 10 items (without spending Robux), but not everyone knows about the Backpack. Both containers help you transport items so you don’t have to carry them one by one back to the train. Otherwise, it’d be a struggle and boring too.
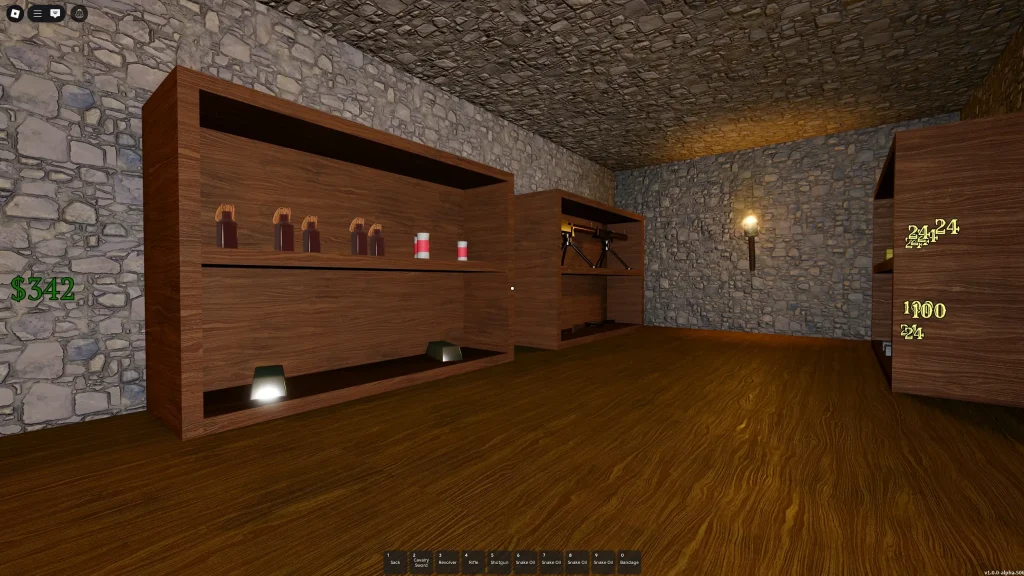
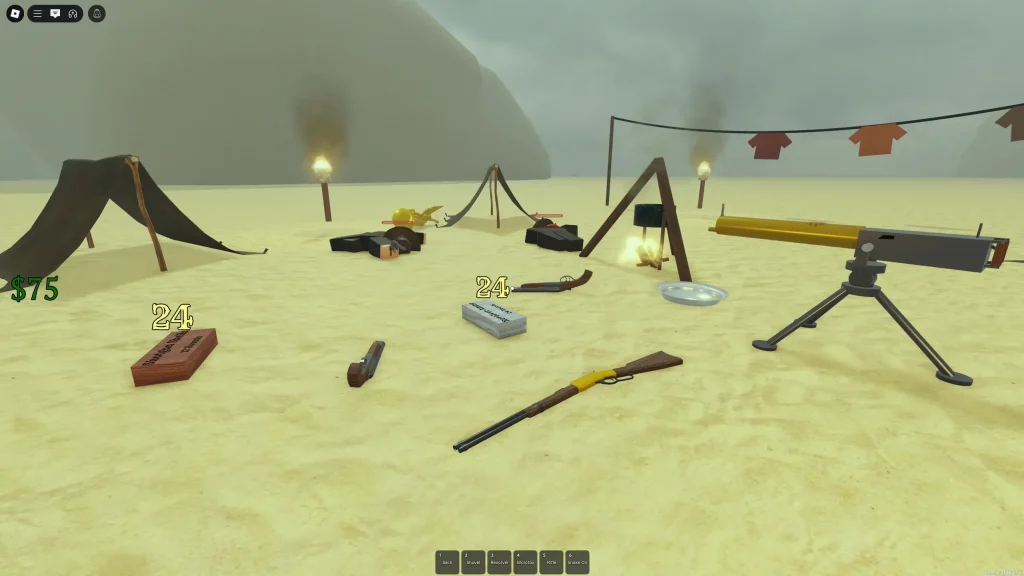
In addition to the Sack, you can store certain items in your massive Backpack storage. Some of those items include Bandages, Snake Oil, weapons, and throwables. This is especially useful when you loot an area packed with weapons like Fort Constitution.
Tip 4 – Melee Enemies Through Walls
A safe way to take out enemies is to hit them through walls. You’ll need to avoid getting too close to the wall, however, since they can hit you too. Also, watch out for the occasional random enemy that may suddenly flank you.
Meleeing through walls is a good way to conserve ammo throughout your Dead Rails run. I tend to take advantage of this trick while clearing towns or safely hitting enemies from my barricaded train cabin.
Tip 5 – Prioritize Getting a Ranged Weapon
Fighting with a ranged weapon will always be safer than up close. I like to start with a Revolver as my Beginner’s Guide mentions despite being low on fuel as a solo player. Otherwise, you may find weapons at Sheriff or Gunsmith buildings along your journey.
Starting with the Revolver and even limited ammo gives you a chance to find more loot to purchase better weapons. While the Shotgun is strong up close, the Rifle is my favorite for sniping zombies. In addition to this, you can have multiple of the same weapon loaded on your hotkey bar.
Tip 6 – Clear Towns in Dead Rails For Money
Towns are a great source of items to sell, weapons, meds, and everything else you could possibly need. With that said, every town varies in size so you’ll have a different experience each time. The real challenge is getting to all that loot since every town is overcrowded with zombies.
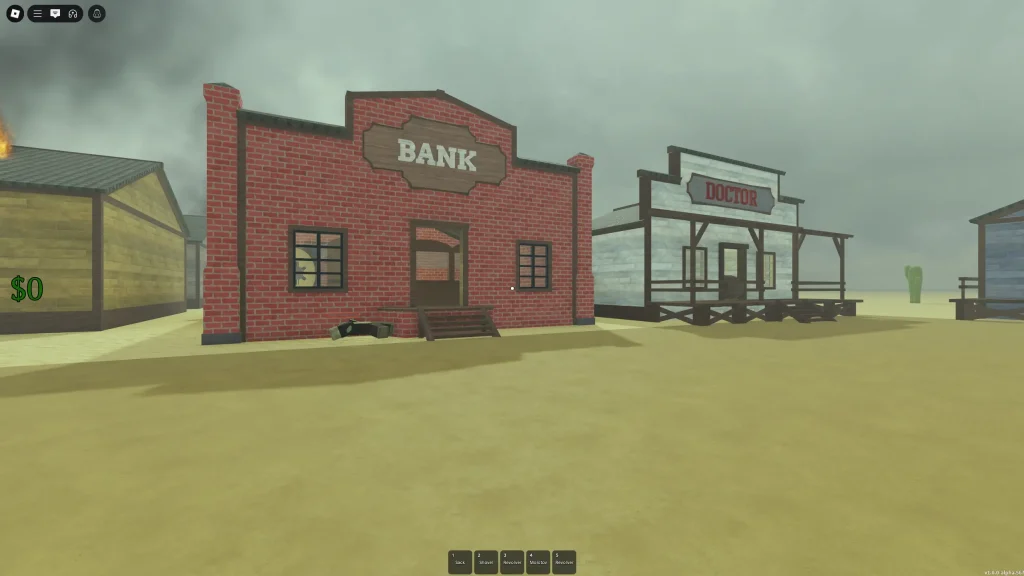
I always prioritize checking the Bank and Church if I can safely loot them. The Bank almost always has Bonds and valuable items like Gold Bars. While the Church also has valuable items like Crucifixes and Holy Water. I recommend using a Rifle if you have one to snipe zombies. Otherwise, use those building walls for meleeing! If you can’t find the top hat zombie for the Bank code, you can use Dynamite on the vault instead.
Tip 7 – Stock Up on Barbed Wire
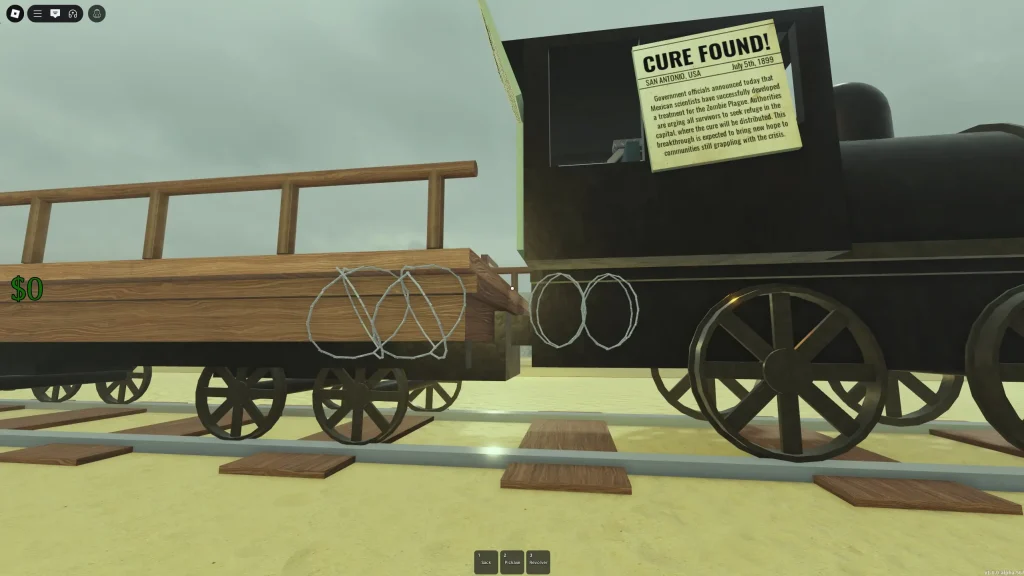
Barbed Wire works extremely well for protecting your train and preventing enemies from getting on it. I like to weld it along the bottom of the train around the sides and toss one or two on top too. Whenever enemies hit Barbed Wire, they’ll take some damage and also fall over.
While you’ll probably want to prioritize ranged weapons and maybe expensive armor, Barbed Wire is worth it in the mid to late game. It doesn’t hurt to grab Sheet Metal as well to protect yourself even further from enemies. While Sheet Metal can’t break, Barbed Wire can.
Tip 8 – Make Sure You Have Bandages
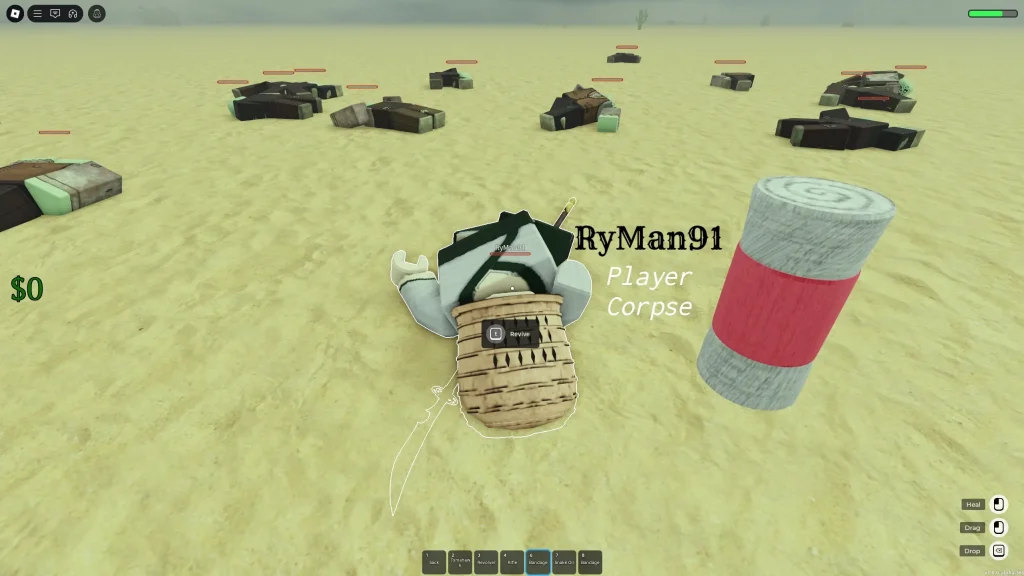
Bandages aren’t just for healing! You’ll also need them to revive other players. If you’re playing alone, they’re still helpful alongside Snake Oil for keeping your health topped off. But, you’ll probably only use Bandages when you’re safe since they take some time to use.
This is why I almost always prefer to use Snake Oil for healing even though it’s more expensive. That doesn’t mean you can’t still keep Bandages in your Backpack as a backup or to use on teammates.
Tip 9 – Get Horses From Outlaws
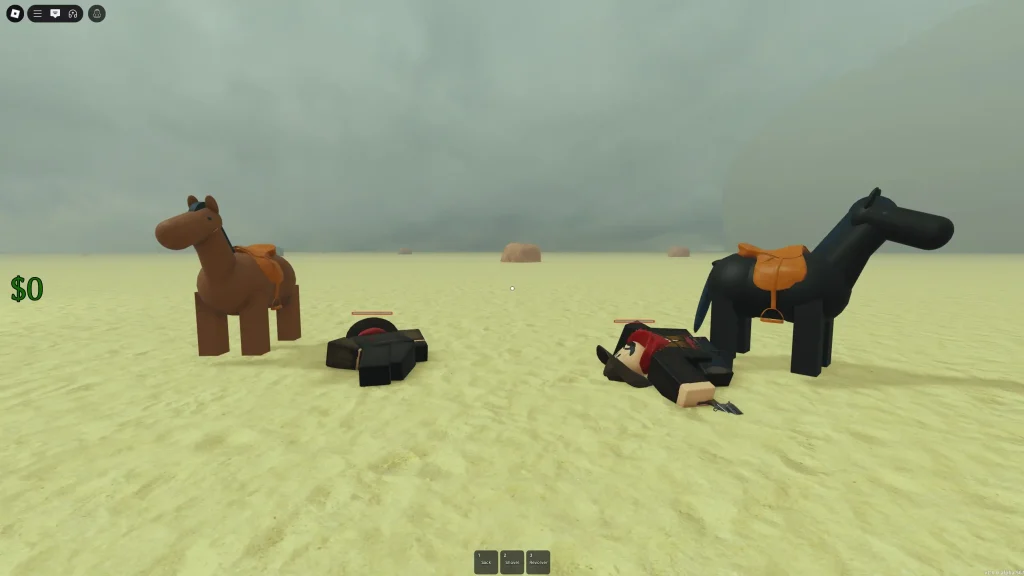
Horses are a game-changer due to their speed for transporting loot and escaping enemies. Unfortunately, you can’t buy them but you can get a Saddle to try and tame a horse. It’s difficult to do alone since it relies on trapping them against a wall. But it’s easier to do with another person.
My go-to trick is taking horses from Outlaws since they’ll already have Saddles on them. I usually come across packs of them so I’ll take a few horses using my Sack after clearing them out. As silly as it is, you can then weld the extra horses to your train as a backup. Just don’t forget to turn in the Outlaw bounties as well!
Tip 10 – Save Up Bonds For Classes in Dead Rails
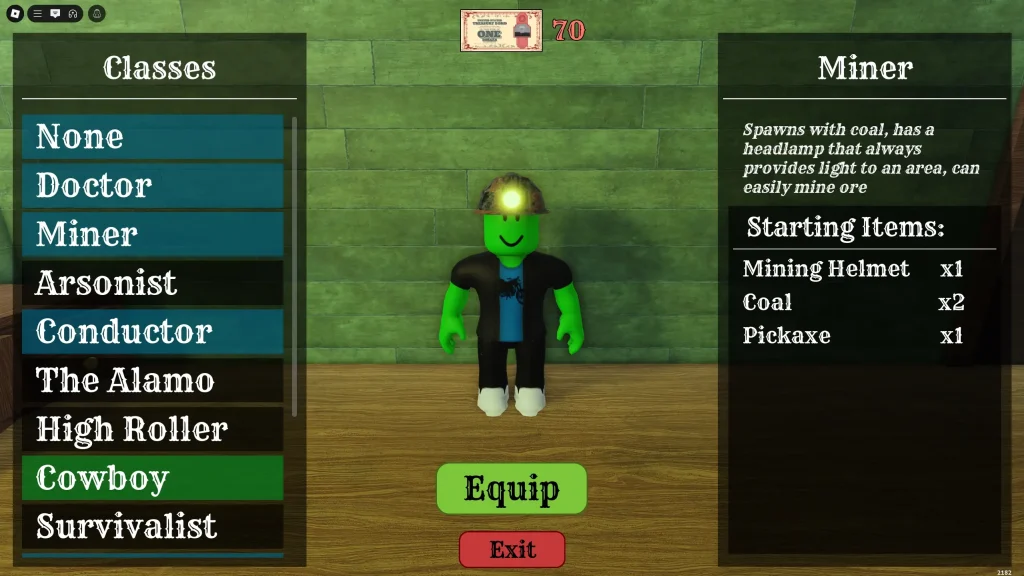
As you loot Banks and complete Dead Rails runs, you’ll start to earn Bonds. This leads to a form of meta-progression where you can unlock classes for an early advantage. For example, you can unlock the Doctor using Bonds to start with Bandages and Snake Oil.
My other favorite is the Miner who starts with a Pickaxe that you can use to mine rocks for money. In addition to classes, you can also spend your Bonds on one-time items for each run. If you’re like me, you may prefer to save up for new classes first. However, items aren’t too expensive if you want to buy something.
That’s all there is to this guide on the best Dead Rails tips and tricks. Be sure to check out some of our other guides below for this popular Roblox game!

Jeff is a journalist with over 10 years of experience writing, streaming, and making content about video games. With an associate degree in journalism, he’s a sucker for RPGs, survival games, roguelikes, and more.

