Installing modules in Zero Sievert is a surprisingly confusing process even though there isn’t a lot to it. But if you’re like me and had no idea how it worked at first, here’s a guide on how to install modules now that I know.
Just in case anyone is curious about my experience with Zero Sievert, I have several hours at the time of publishing this guide. While there’s still plenty for me to learn, I have a firm understanding of how modules work.
How to Install Modules in Zero Sievert
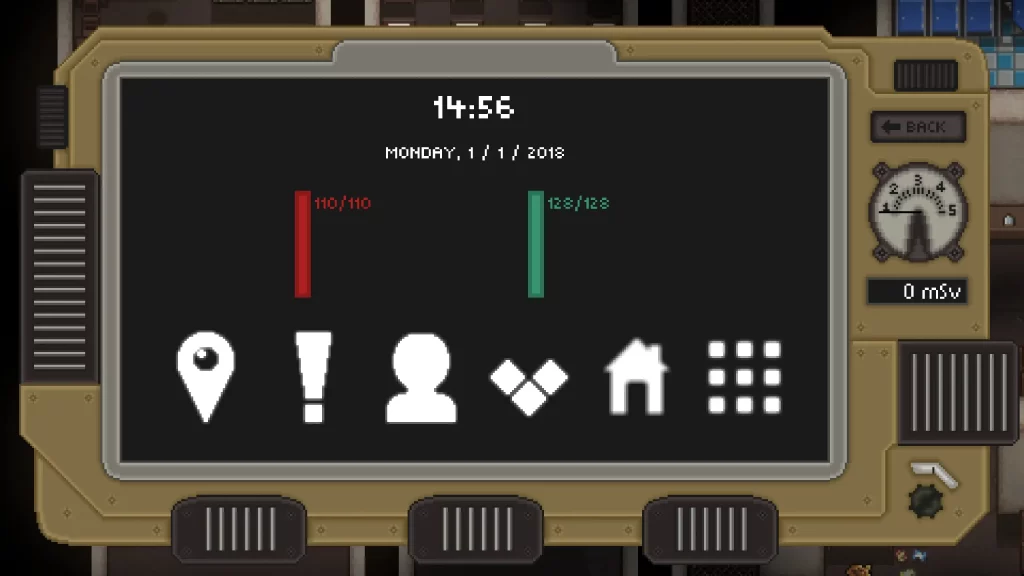
The first thing you’ll need to do is press J to open up your device. It’s essentially a Fallout Pip-Boy just to give more context on what it is. Afterward, click the House icon. This will reveal a menu with mostly empty grid squares to the left and nothing on the right. At the time of publishing this guide, the left area should have one grid square filled for your storage.
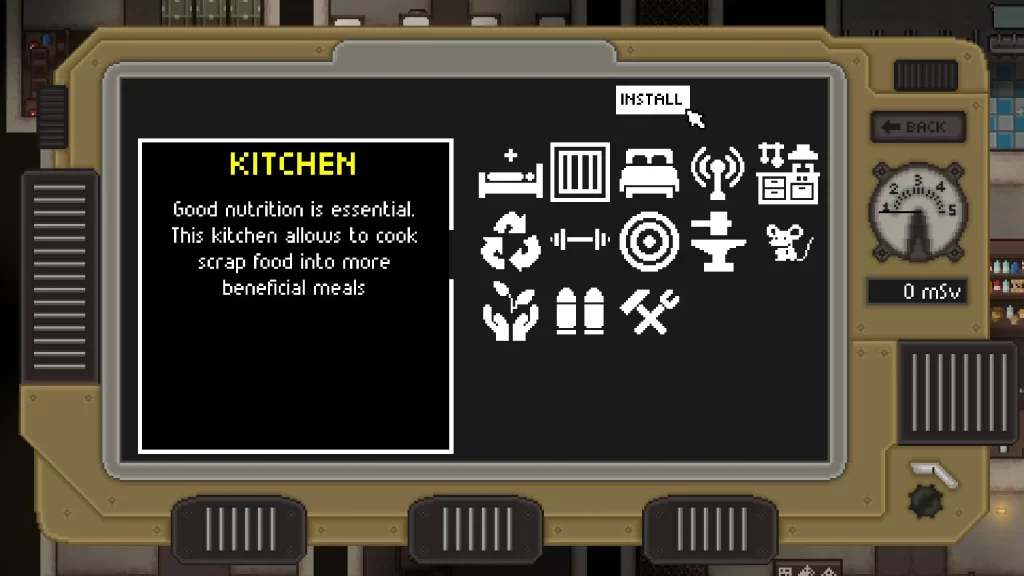
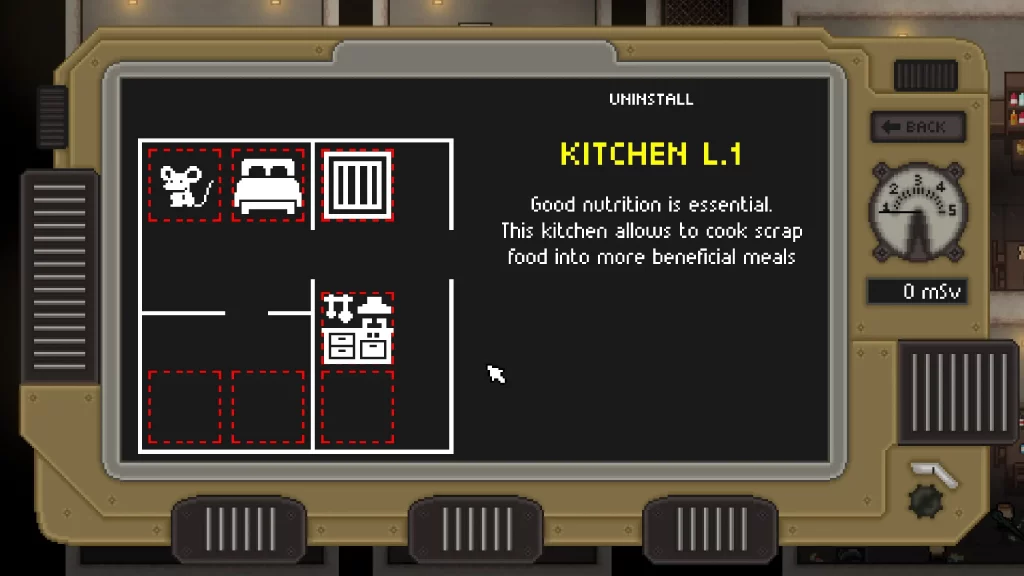
Ignoring your storage square, click one of the empty ones with a red dashed outline. This will reveal a bunch of different icons on the right side now. You can click each one to learn what it is and what it does. Once you have the module you want to install selected, click the Install button above the icons.
If you move your mouse cursor to the left side where the room description is before installing, the Install button may disappear. Don’t worry, all you have to do is click the module again and the button will reappear. This is where most of the confusion likely starts for Zero Sievert players.
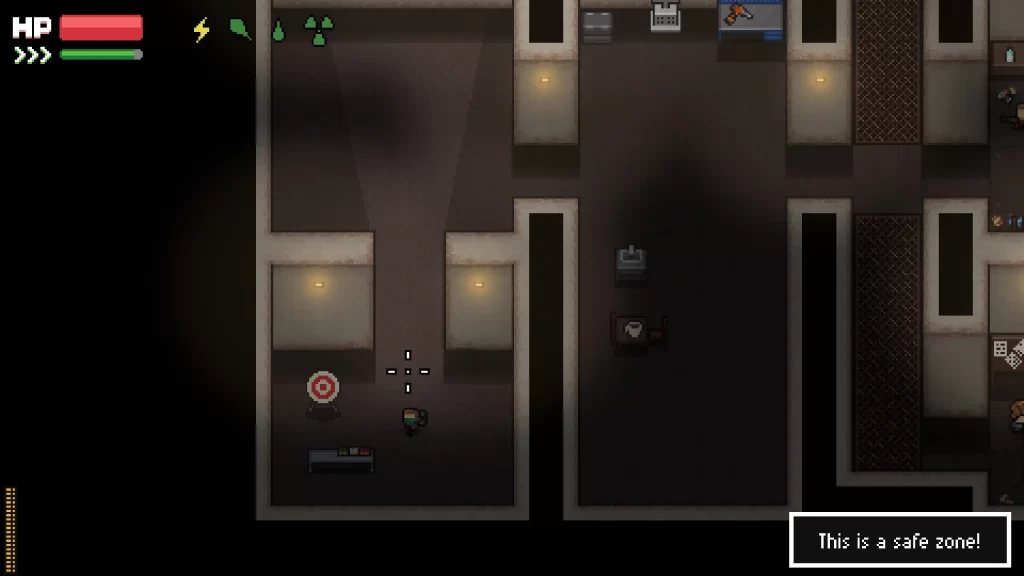
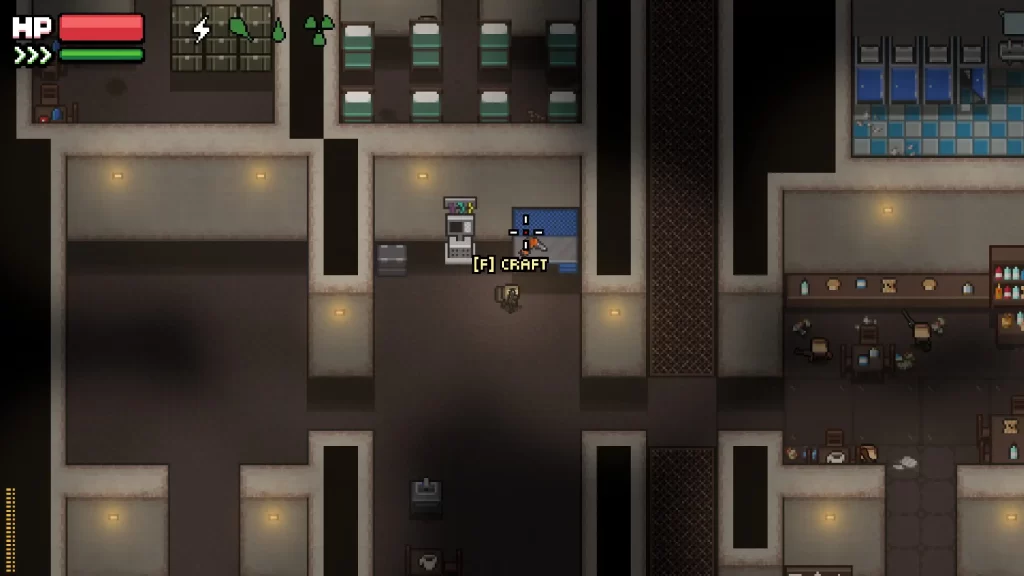
Now that you’ve installed your module and it’s visible in the grid on the left, you’ll need to actually build it. Get out of your device and head over to the blue crafting workbench in your stash area. If you’re not sure where this is, you can press H to reveal a menu for teleporting.
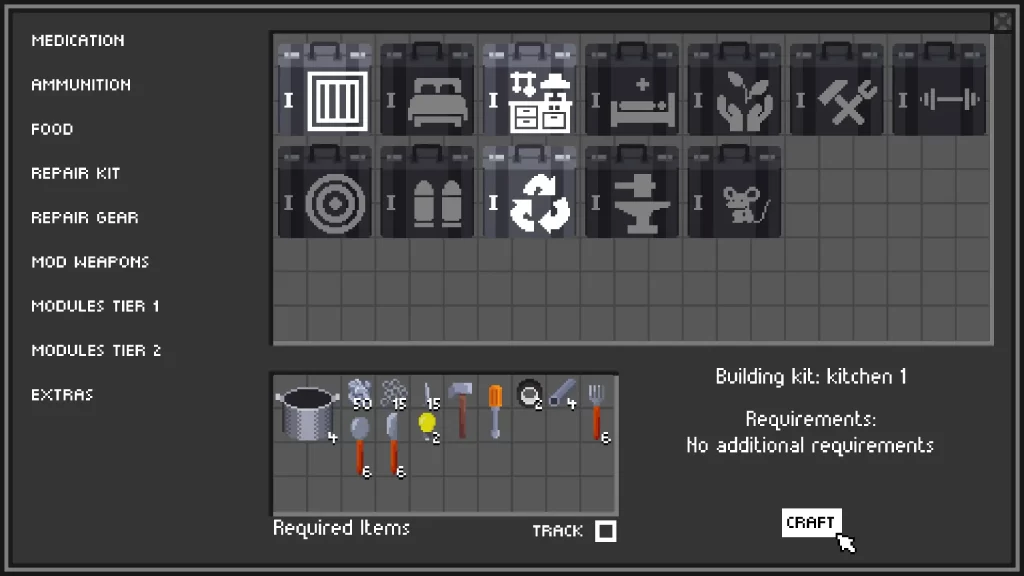
The next step is clicking into the Modules Tier 1 section of your workbench. This area reveals all the different room modules you can craft for installation. For example, Storage, a Bedroom, a Kitchen, a Workshop, and so on. After successfully crafting the module you need, it’ll appear in your inventory.
Now you just need to right-click the module in your inventory and click the use button that appears. I’m assuming you need to be within your room area to use it, but I haven’t tested it outside of there. After installing the module from your inventory, it’ll appear in the room where you placed it on the device grid.
Keep in mind, many modules aren’t interactable and will simply work on their own. For example, you can’t interact with the kitchen. But, you’ll have access to more food recipes now when using the workbench.
How to Uninstall Modules in Zero Sievert
I’m sure most of you are here to understand how to install, but just in case you’re wondering about uninstalling too. If you want to uninstall a module you’ve placed, you can click it on the device and then click the Uninstall button above its’ name. Beware, you won’t get the module back after removing it. I somewhat regrettably tested this to see how it works.
In most cases, you’ll probably only want to uninstall a room if you haven’t used the module to build it yet. However, there are more modules than grid spaces to build. So if you change your mind later and want something new, you’ll obviously have to make room.
If you get a chance, be sure to comment below and let others know which rooms you think are the best to build first!

Jeff is a journalist with over 10 years of experience writing, streaming, and making content about video games. With an associate degree in journalism, he’s a sucker for RPGs, survival games, roguelikes, and more.

