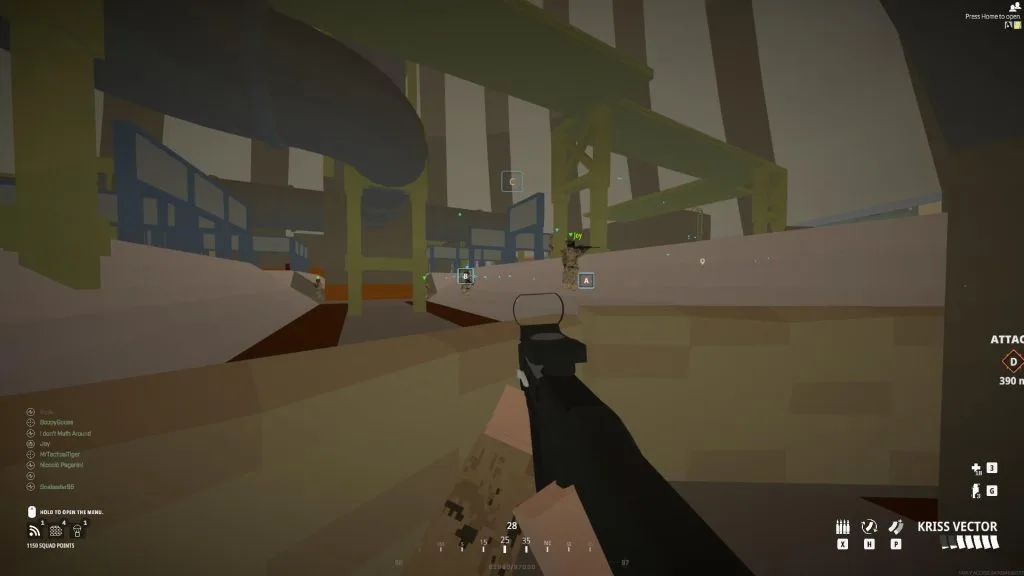
Did you know you can build all sorts of useful fortifications in Battlebit Remastered? If you’ve ever seen someone place a sandbag or some giant Hesco Cubes, it’s worth learning how to build so you can too. This is a great way to defend an objective or even create cover while pushing into one.
Considering how much destruction there is in Battlebit Remastered, you’re bound to end up inside buildings falling apart. And this makes it plenty difficult to find cover when you really need it. That’s why understanding how to build can be extremely useful.
For most of you jumping into Battlebit Remastered, it’s easy to not know how the building system works. This is because the basic tutorial isn’t thrown in your face when you first start playing. And even though there is a very short tutorial in the Shooting Range, it doesn’t mention building at all.
And before you can even start building, you’ll need to get squad points. Which can be another confusing topic as well. Fortunately, we have a guide that completely explains how to get squad points and how they overall work. With that said, we’ll dive into everything below about how building works and how to even rotate structures too.
How to Build in Battlebit Remastered
How to Open the Build Menu
Revealing the Wall Menu First
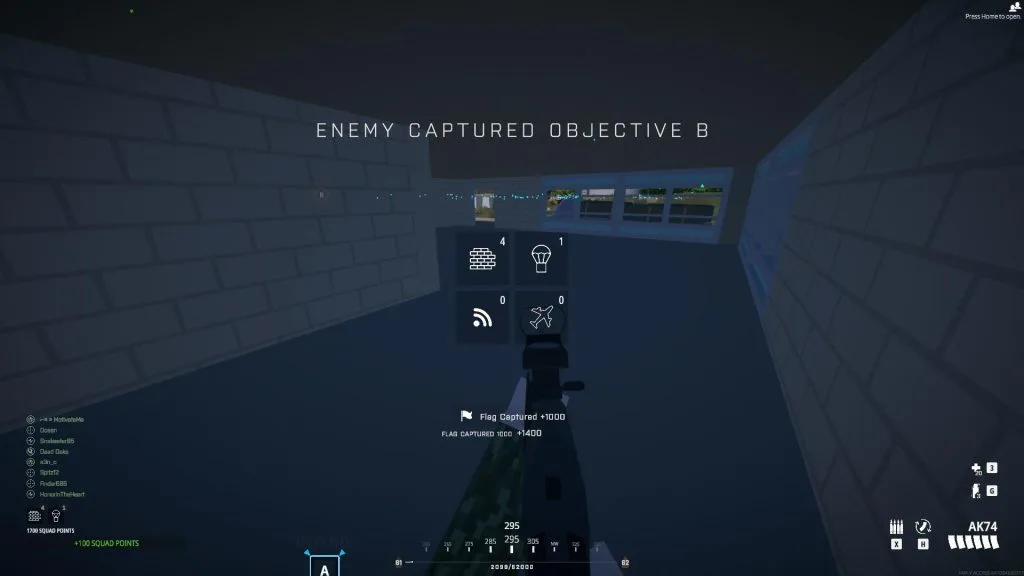
Sometimes Battlebit Remastered will bug and the build menu won’t appear at all. Respawning can fix it, but this isn’t guaranteed.
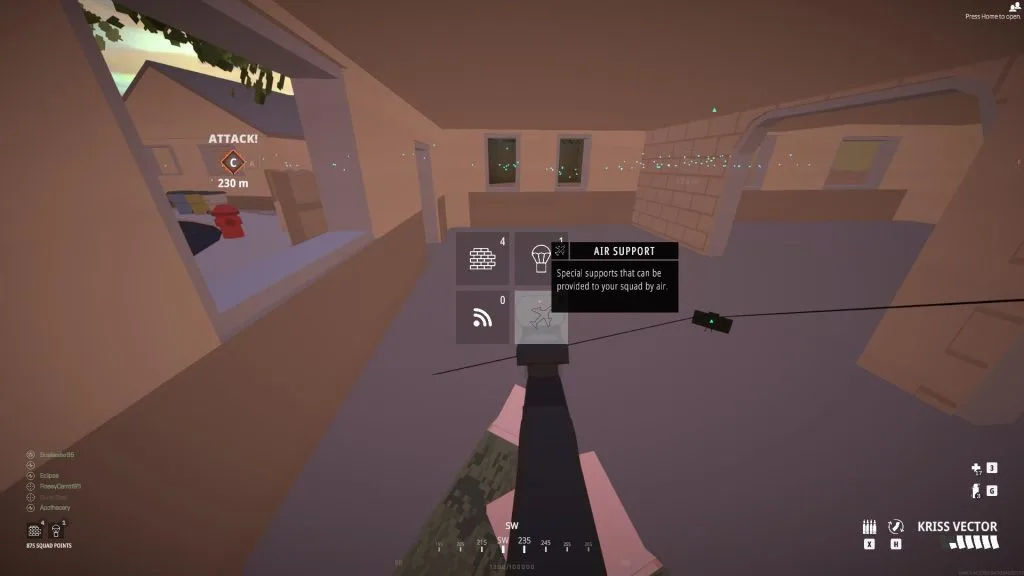
Before you can place sandbags or any other buildings, you’ll need to open up the build menu. By default, you’ll need to click and hold the middle mouse wheel. If you click it in quickly you’ll only place a ping marker. So you’ll need to hold it to reveal four buttons/folders for each building type.
You’ll spend most of your time in the top left tab which shows a bunch of bricks creating a wall. This is where you’ll find the five different wall types that have different squad point costs. Also, they have significant differences in durability and build time. Here’s a quick rundown of the Ground Deployables menu:
- Hesco Wall Cube: Costs 25 squad points and creates a durable Hesco Cube. You can stand behind these and they’re able to take a beating from RPG fire.
- Barrier: Costs 10 squad points and creates a small concrete wall. These can be destroyed with small arms fire and you’re only hidden completely if laying down. Barriers are the only wall that can be built instantly if not playing as Support.
- Sandbag: Costs 10 squad points and creates a half wall. More durable than a Barrier, but it’ll take time to build.
- Sandbag Window: Costs 10 squad points and creates a half wall with two windows. Can be difficult to see through so players will sometimes place a partially built Sandbag beneath it.
- Large Hesco Wall: Costs 40 squad points and creates a double-stacked Hesco Cube Wall. Only the Support class can build this.
Explaining the Supply Supports Menu
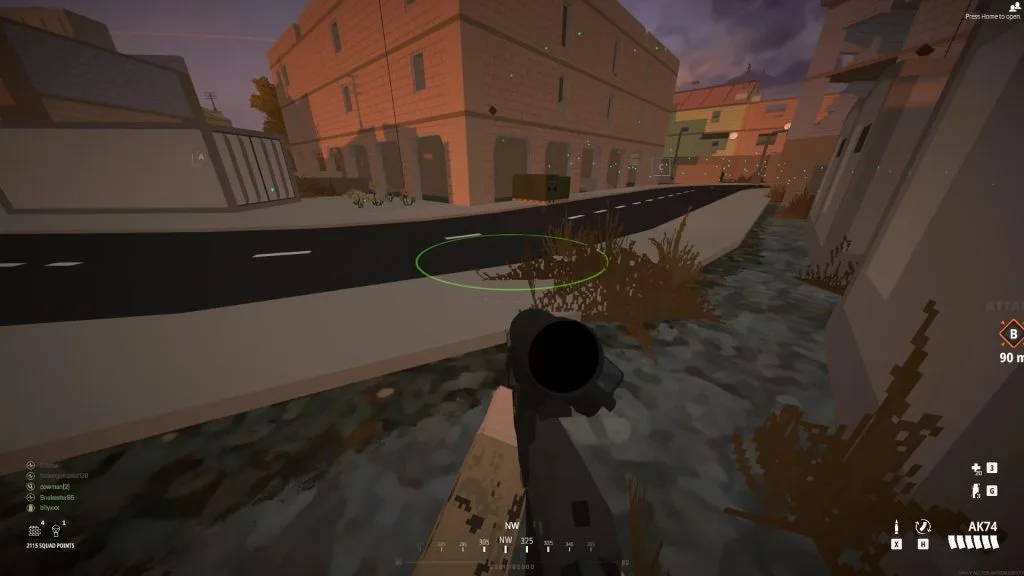
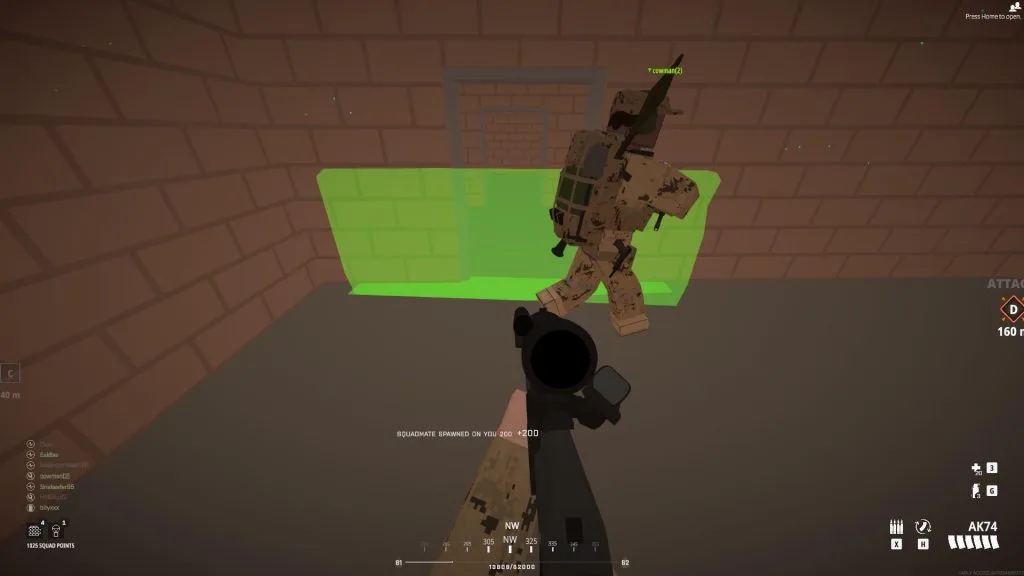
This green circle appears when trying to call in a Supply Box. You can see one large Supply Box across the street already.
Aside from the tab for walls, the next tab to the right is for dropping a large Supply Box. This requires 200 squad points so it can be quite expensive. Remember to check our guide on how to get squad points if you haven’t already. This Supply Box will drop via a parachute from above and take a while to drop.
However, players can shoot the parachute to make it drop quicker even though it will bounce around. This can make it end up somewhere you don’t want if you’re looking for a precise placement. Especially if you’re one of many Recon players placing it on a tower somewhere.
Explaining the Special Gadgets Menu
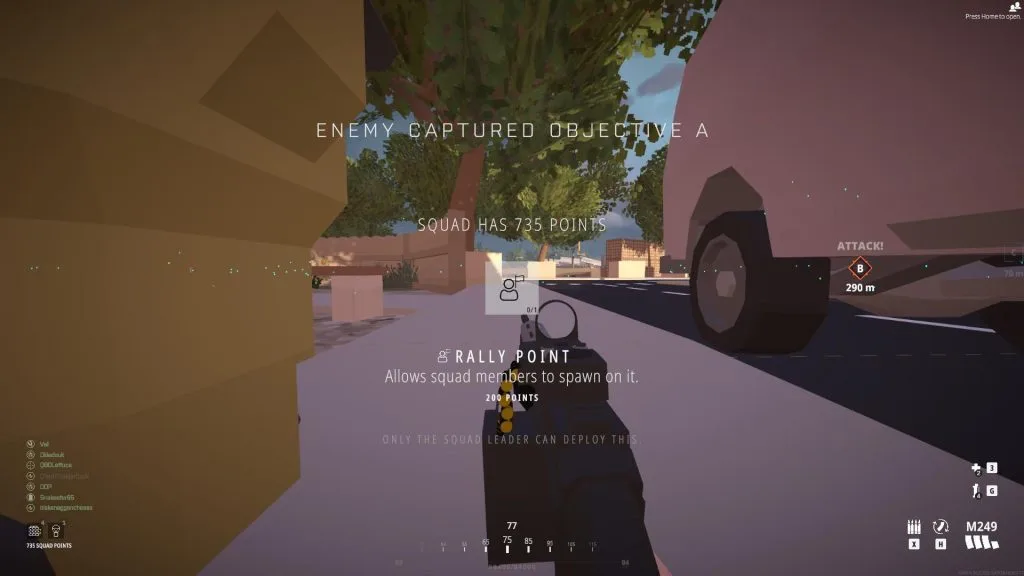
The next tab near the bottom left only has one option to spend squad points on as well. This is the Rally Point that only squad leaders can place by using 200 squad points. It’s worth mentioning that you can’t place it directly on capturable objective points. While in modes like Frontline, you can’t place Rally Points at all.
If you’re playing as a squad leader and plan to place a Rally Point, make sure you put it somewhere it won’t easily get destroyed. This is why people will often hide it inside a building or far from where enemies are. Such as placing it in a bunch of bushes or a valley flanking an enemy objective.
Explaining the Air Support Menu
While the Air Support menu at the bottom right exists, it isn’t currently implemented in Battlebit Remastered. We can only make guesses at what the developers will add to this menu. And how it will be used across different modes. What sort of options would you like in the Air Support menu?
A common feature I see players ask about is some sort of artillery or airstrike option. Even though this could be quite deadly for certain maps where players are packed tightly. Otherwise, I could see it be a way to call in vehicle airdrops.
How to Actually Place Walls and Other Structures
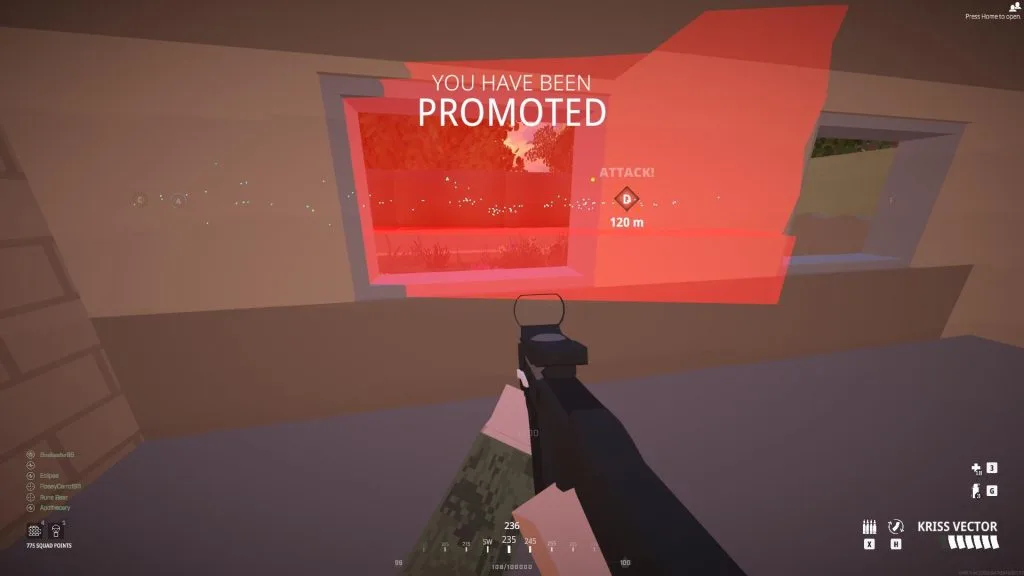
Certain areas are more difficult to place walls in like windows. Even though you can still place sandbags and barriers in many of them.
Now that you know where each structure type is, let’s quickly explain how to place and rotate buildings. Once you select the building type you want to place, you’ll start to see a green or red transparent version of it. If it’s red, that means you can’t place it there for some reason.
This can either be because it’s too far from you, in an area where building isn’t allowed, or a random reason we’ll never know. Either way, try repositioning it since it can sometimes be finicky. Especially if you’re trying to place a Rally Point in a small room where it can just barely fit.
If you still want to rotate it slightly without having to completely move where you are, you can scroll the middle mouse wheel. This will help you place a wall just right or potentially change the direction players are facing when spawning at a Rally Point. I haven’t experimented enough with Rally Point placements regarding spawns, however.
Once you’re comfortable with the position of your transparent green structure, left-click to build it. If you’re playing as a Support class, you’ll instantly build whatever fortification you place. Whereas other classes will have to build everything slowly by looking at it and holding the “F” button by default. As previously mentioned, you can still place barriers instantly though.
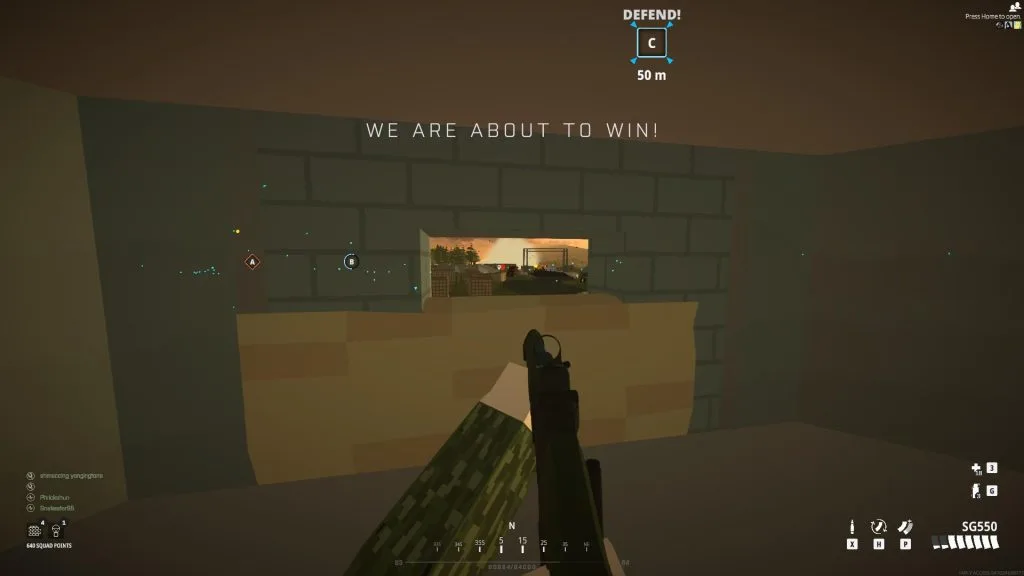
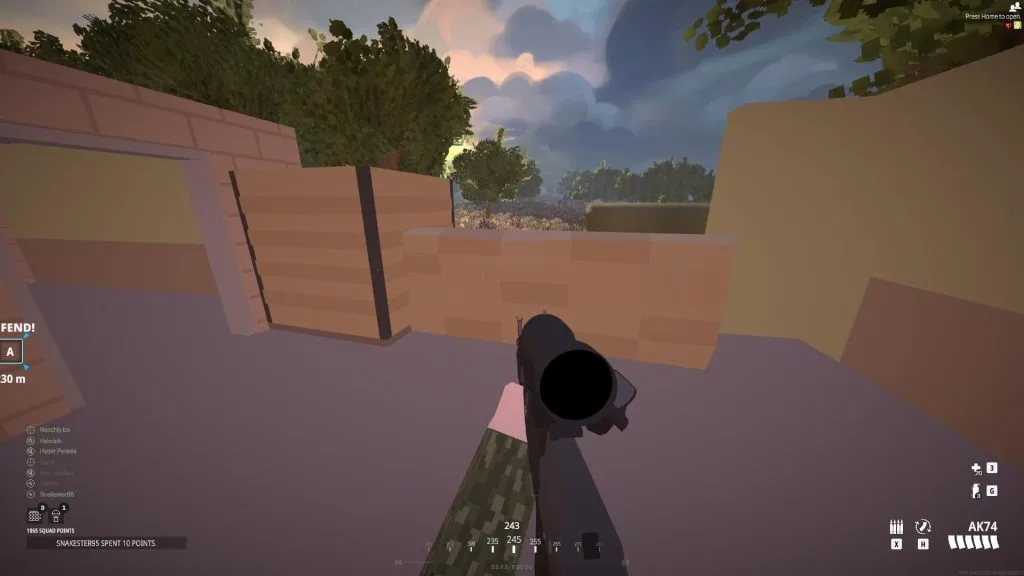
It may look silly but you can jam sandbags inside doorways. This can make it more difficult for enemies to get in without removing them using “Caps Lock”.
With that said, the one class where players won’t be able to place Hesco Cubes is the Recon. So you’ll need to get creative with your sandbag and barrier placement. Fortunately, you can place those walls on top of each other. This won’t cost as much as a Hesco Cube but it won’t be as strong either.
Otherwise, that’s pretty much all there is to know about how to build in Battlebit Remastered. The more you build and play different maps, you’ll get a good idea of where to take advantage of. Just make sure to not spend all the squad points if you don’t have a lot.

Jeff is a journalist with over 10 years of experience writing, streaming, and making content about video games. With an associate degree in journalism, he’s a sucker for RPGs, survival games, roguelikes, and more.

