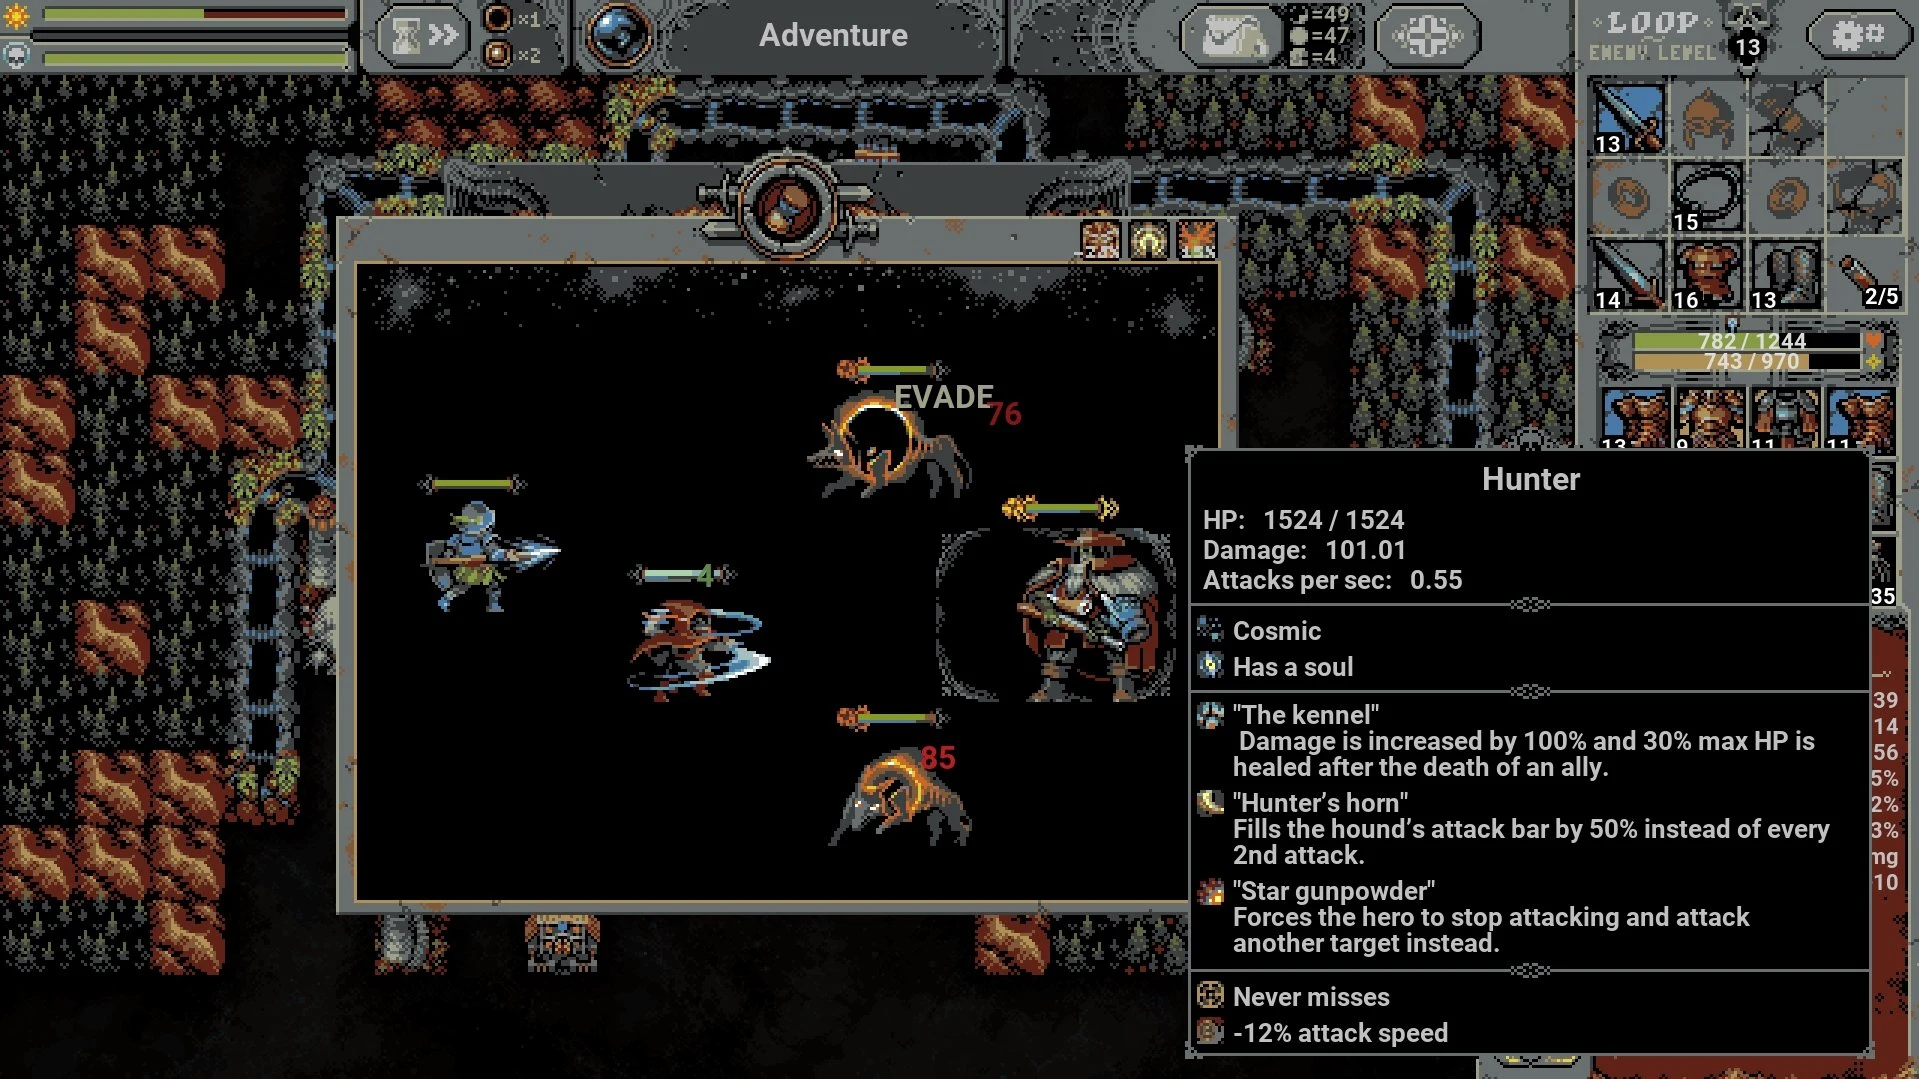
If you’ve made it past the first two Loop Hero chapters and need help with how to beat Chapter 3, this guide is for you. As someone that struggled for hours trying to beat it as a Necromancer, I gave up and switched to the Rogue. Here’s how I did it with a bunch of tips and strategies to help you
How to Beat Chapter 3 in Loop Hero
I recommend using the Rogue class for this chapter as the Necromancer relies too much on RNG for a good build. Most guides recommend using a bunch of Spider Cocoons and Cemeteries, but Necromancers struggle to keep up. This is why I switched to the Rogue since the only RNG struggle you’ll have is with traits. Continue reading below for this Loop Hero guide.
| Rogue Card Deck For Chapter 3 |
| Loop Hero Chapter 3 Tips and Tricks |
Rogue Card Deck For Chapter 3
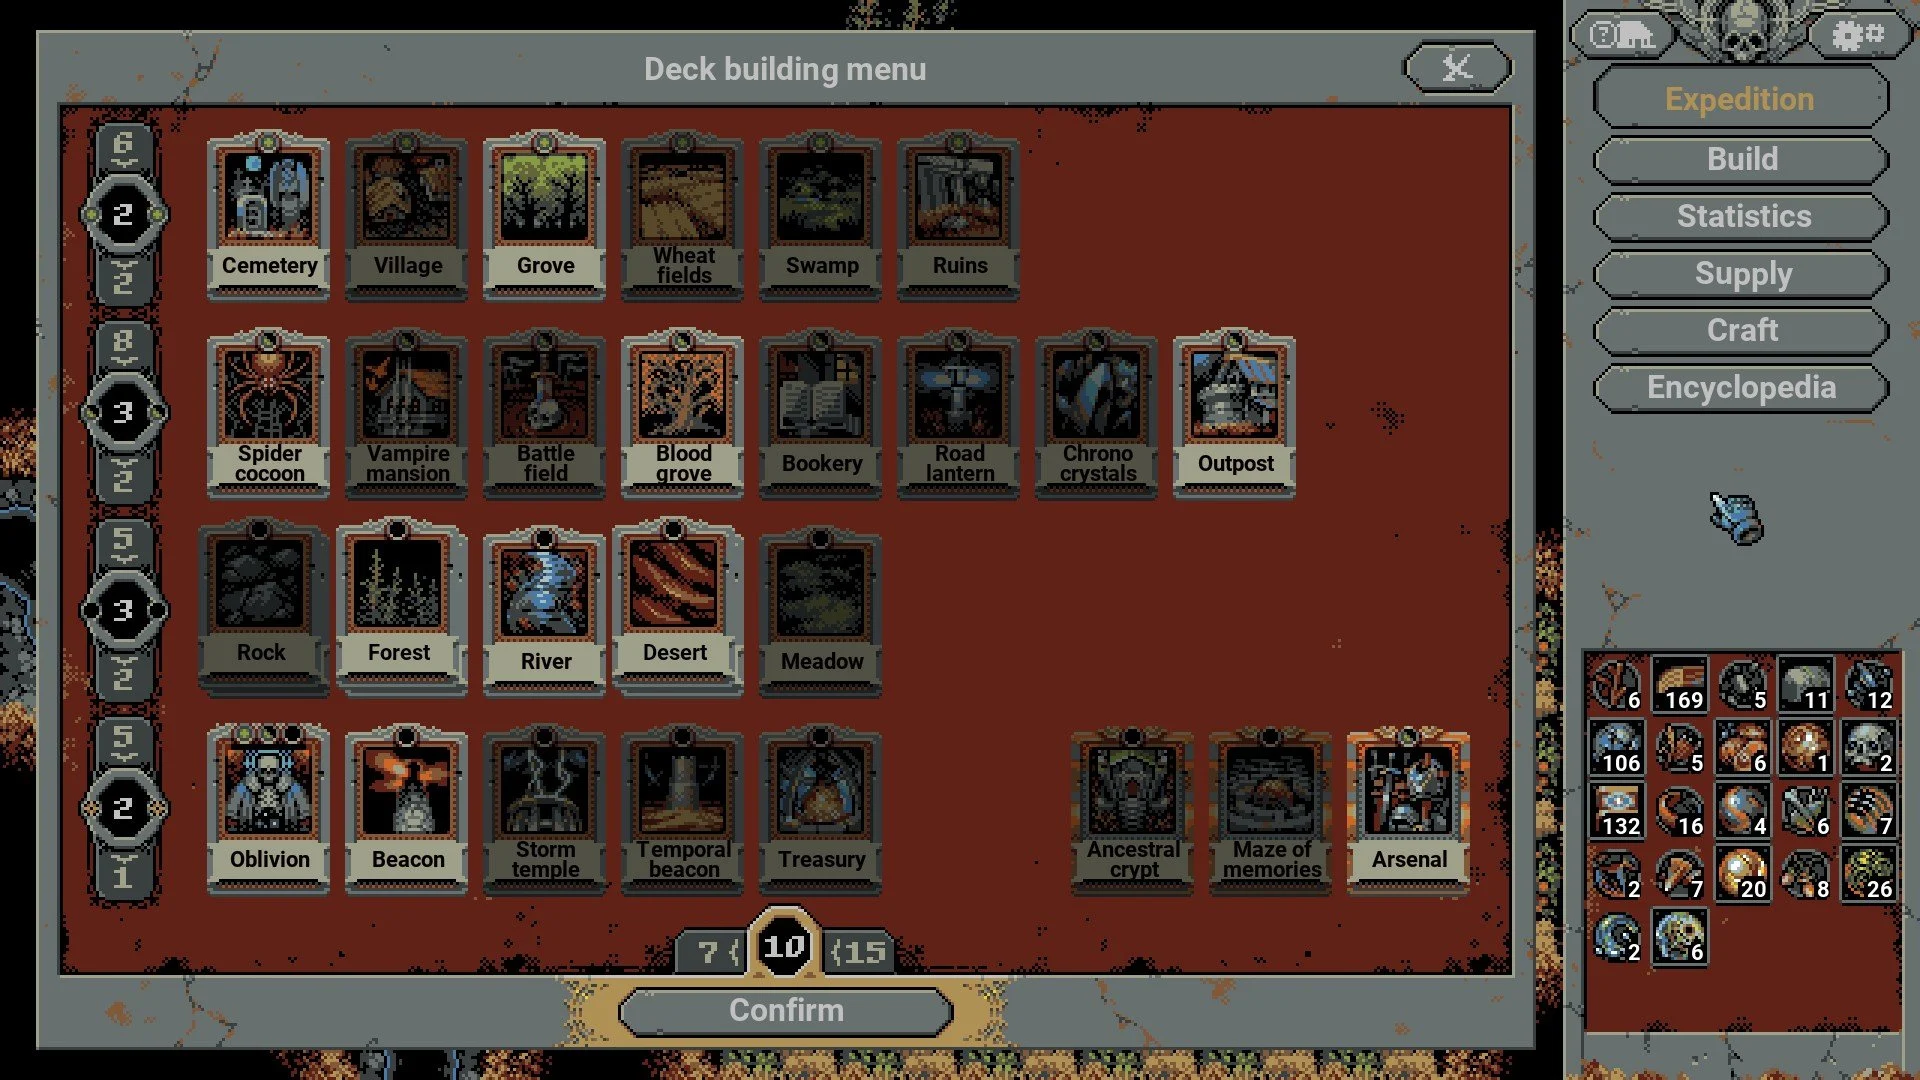
These are the cards I used to beat the Chapter 3 boss, the Hunter. If you don’t have the River or Outpost yet, you’ll likely want to grind those before taking this boss on. The River tile literally doubles your attack speed while also nerfing enemies. While the Outpost helps with some extra DPS and tanking against the boss. For extra info regarding each card, take a look at the table below. Otherwise, click here and skip to the next section for overall Loop Hero tips and tricks.
| Cemetery | Skeletons aren’t too bad for farming cards once you get some evasion and attack speed going. |
| Grove | Groves are primarily for taking advantage of Blood Groves. |
| Spider Cocoon | Spiders are for grinding cards, but be careful to not place these tiles in areas where every spider spawns on one tile. Aside from resources, there’s no reason to fight them all at once. Unless you have Outposts nearby. |
| Blood Grove | Aside from taking out the boss at 15% health, you can also use a few of these against other enemy spawners. Right before the boss starts, we’ll change this to a Hungry Grove by taking away the Grove. Buffing it to killing enemies at 20% health. |
| Outpost | Spawns Soldiers that help with fighting the boss, large groups of enemies, and taking a beating for you. |
| Forest/Thicket | Placing Thickets along a River doubles their attack speed buff from 2% to 4%. Forests are still worth placing elsewhere or along Rivers if you have too many River tiles. |
| River | Useful for doubling the effects of Thickets. Also, placing a few Sand Dunes along them provides a -.5% attack speed to you, but -1% to all enemies. |
| Desert/Dunes | Lowers the health of everyone (including you). This works well for lowering the boss’s health by a solid 25% or so before you get to them. It doesn’t impact Magic HP. |
| Oblivion | Necessary for creating a Hungry Grove for the boss. Also, you’ll want to remove “A Village?” tiles creating by placing 10 Forest/Thickets. Their countering is an easy way to kill yourself. |
| Beacon | Use these for 20% attack speed and 40% movement around the loop. Bosses don’t gain this buff. |
| Arsenal (Golden Card) | Necessary Golden Card for the Magic HP shield. |
Loop Hero Chapter 3 Tips and Tricks
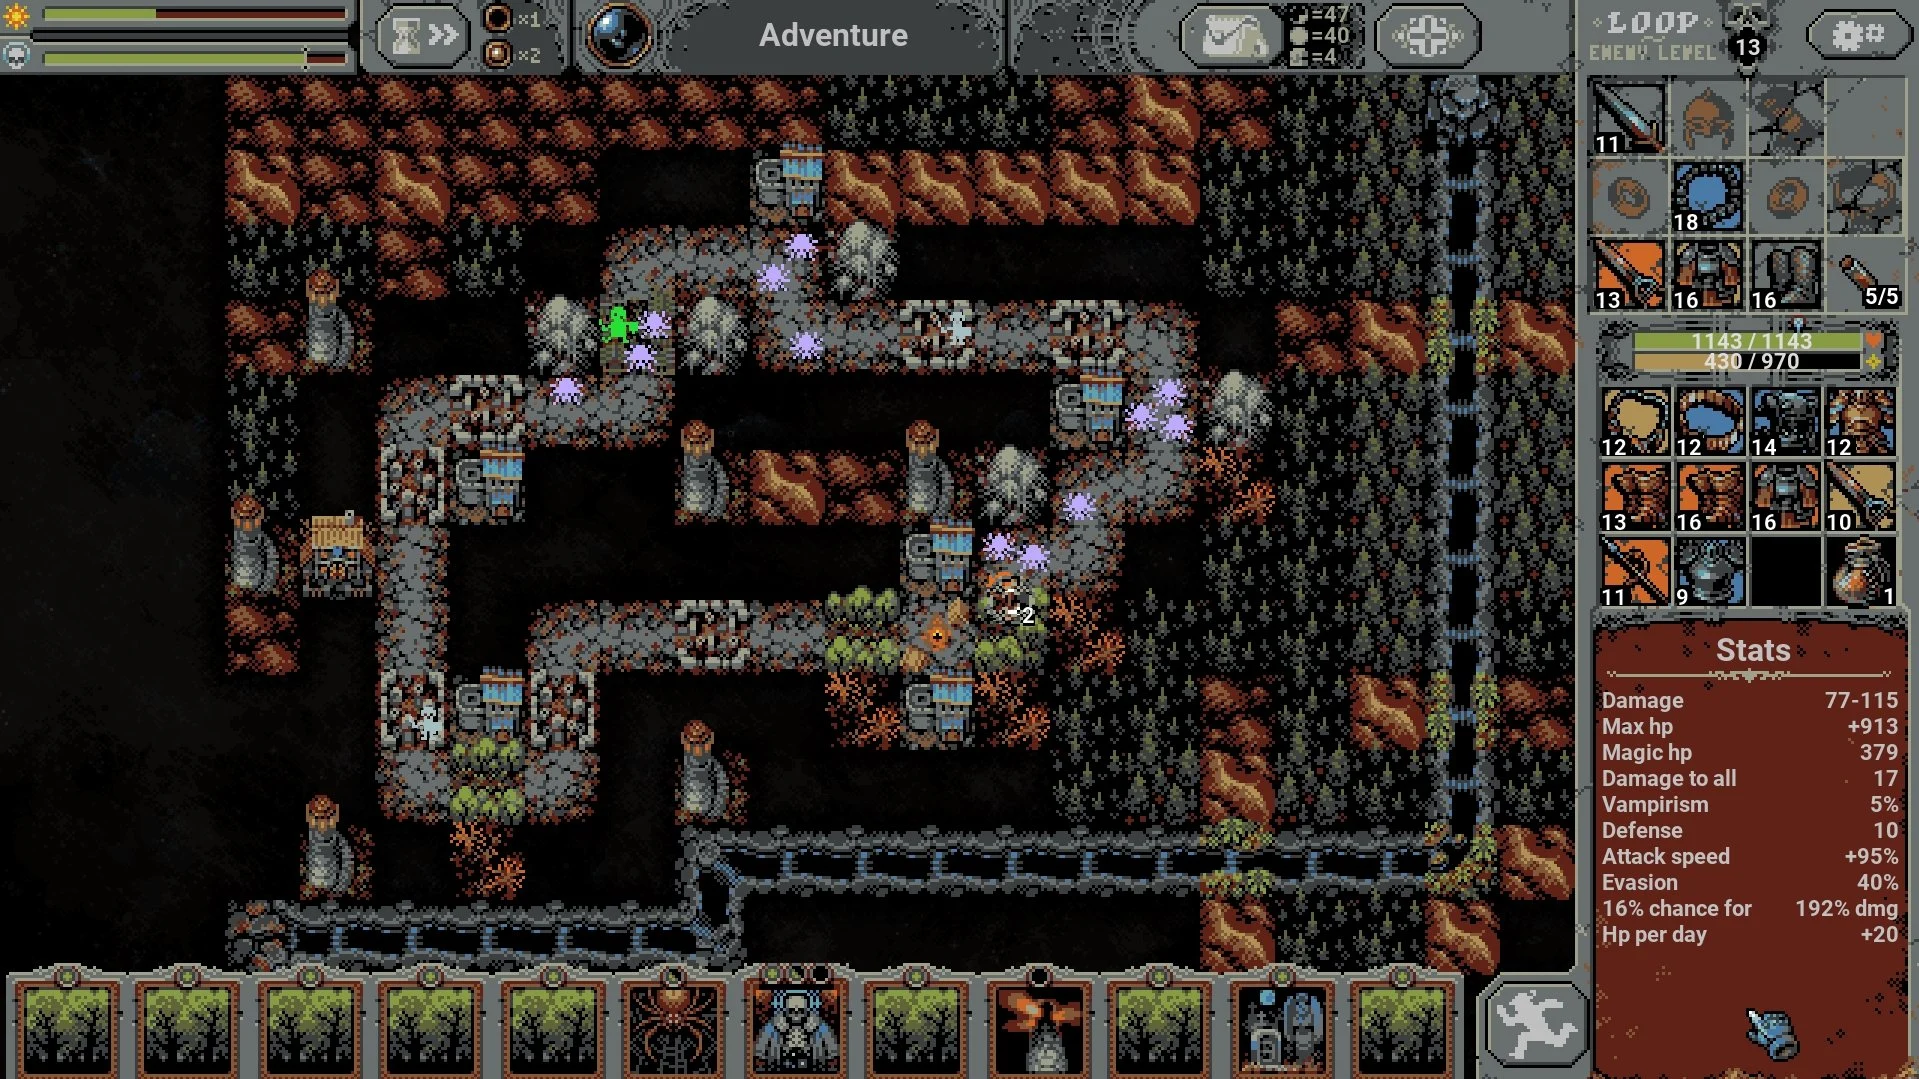
The Loop Hero screenshot above is a little before I finished my run. Once I realized I was in a pretty good spot, I placed my remaining tiles to summon the boss. I got a few more Forest tiles and then removed a Grove near the boss to get a Hungry Grove. The tips below focus mainly on Chapter 3 and the Rogue. Our 10 Best Loop Hero Tips and Tricks guide is more general also with useful information.
- Best Stats: Attack Speed, Evasion, Damage, Max HP, and Magic HP. You’ll naturally get Max HP, Damage, and Magic HP with gear upgrades. However, you’ll need to focus a little harder on Attack Speed and Evasion. A lot of Attack Speed comes from River Thickets.
- Useful Rogue traits in order of priority: Picky, Old Scars, Shield of Faith, Child of the Forest
- Camp supply item recommendations: Jeweler’s Lens, 1 Brass Candlestick, Old Painting, Smoked Ham, Alchemist’s Shelf
- Use the Arsenal Golden Card so you can get Magic HP on your Rogue via Amulets. Our other guide explains how to unlock equipment slots if you haven’t yet.
- Outposts don’t take yellow and orange cards from Rogues because of the trophy system. Use Outposts frequently for help.
- Some guides say to never use Forests and Deserts, but I disagree. The only tile I wouldn’t place Forests is along Rivers, unless I have too many River tiles. If you wait too long for better cards, the loop level will get too high. You can use the Bookery to offset this, but the Tome enemy is a pain.
- Save your Oblivion cards for “A Village?” tiles and creating a Hungry Grove near the boss. So long as a Blood Grove doesn’t have a Grove, Forest, or Thicket adjacent, it becomes a Hungry Grove. Killing adjacent enemies when they reach 20% health. This works on the boss and their hounds.
- Place two Outposts adjacent to the campfire to help against the boss.
- Placing additional Blood Groves can help with grinding cards, but I wouldn’t do it until later. Flesh Golems spawn from them and hit for around 200 HP, even though they attack slowly.
- You mostly get health back from the campfire, so prioritize high Max HP with new armor. Since the campfire heals by percentage.
- Notice my Spider Cocoon placements in the screenshot at the top of this section. By having multiple tiles adjacent, they won’t stack up on top of each other.
- Make sure your Loop Hero run has a good amount of room for the river when starting.
- The Beacon attack speed buff doesn’t apply to bosses.
If you have any Loop Hero questions or perhaps tips for other people, be sure to comment below for help or to help. Other useful guides we have here at Slyther Games are listed below.

Jeff is a journalist with over 10 years of experience writing, streaming, and making content about video games. With an associate degree in journalism, he’s a sucker for RPGs, survival games, roguelikes, and more.


