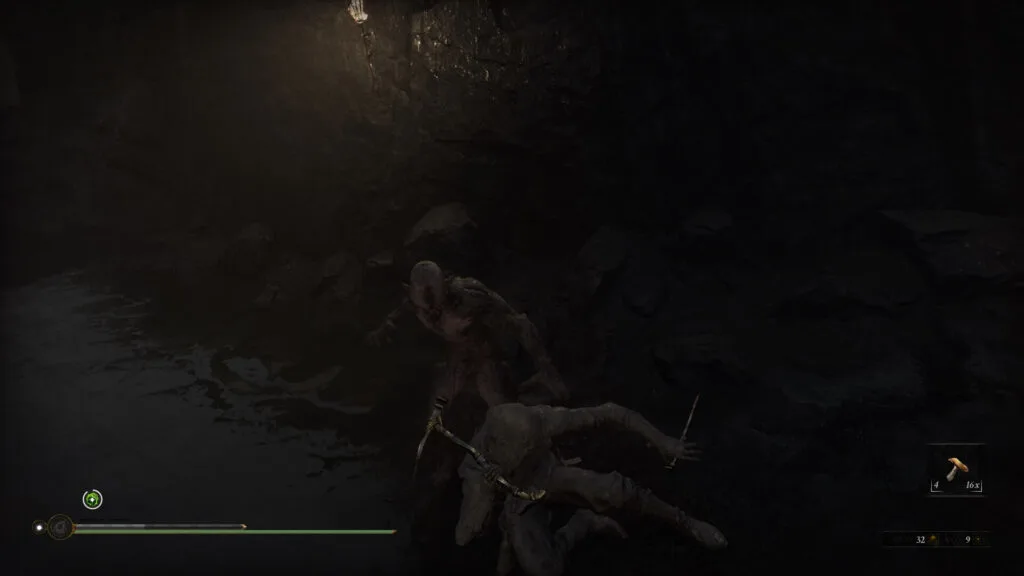
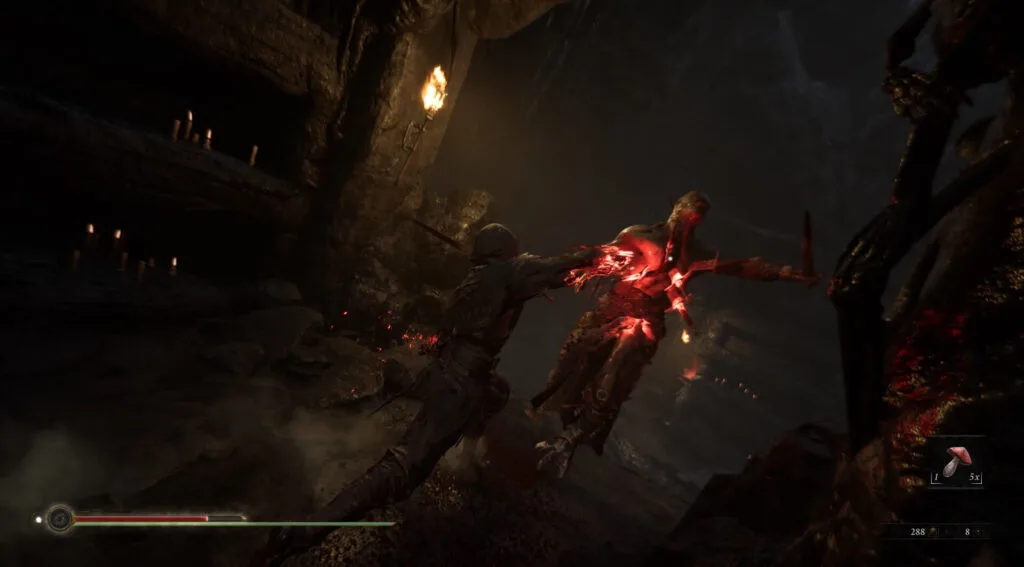
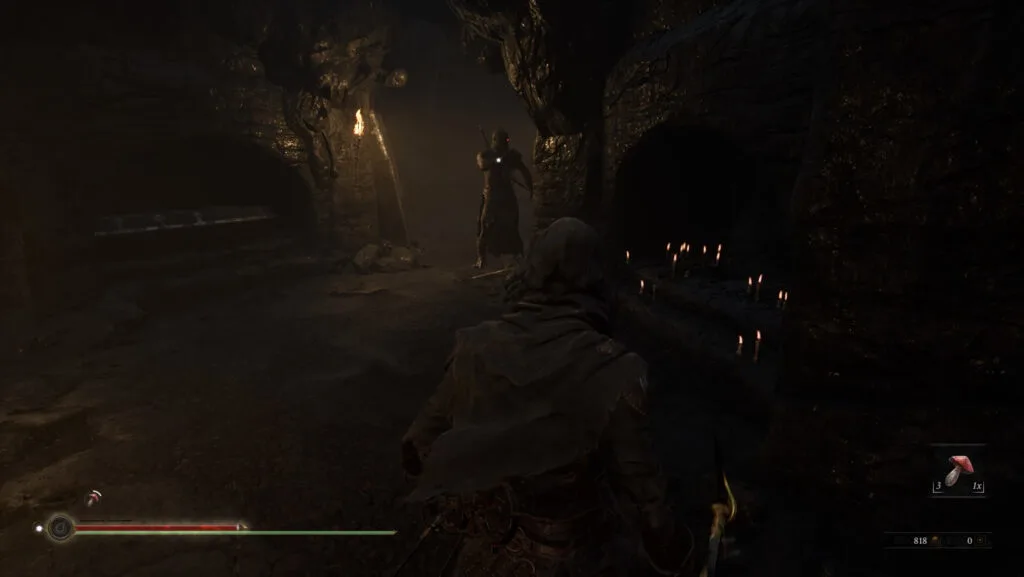
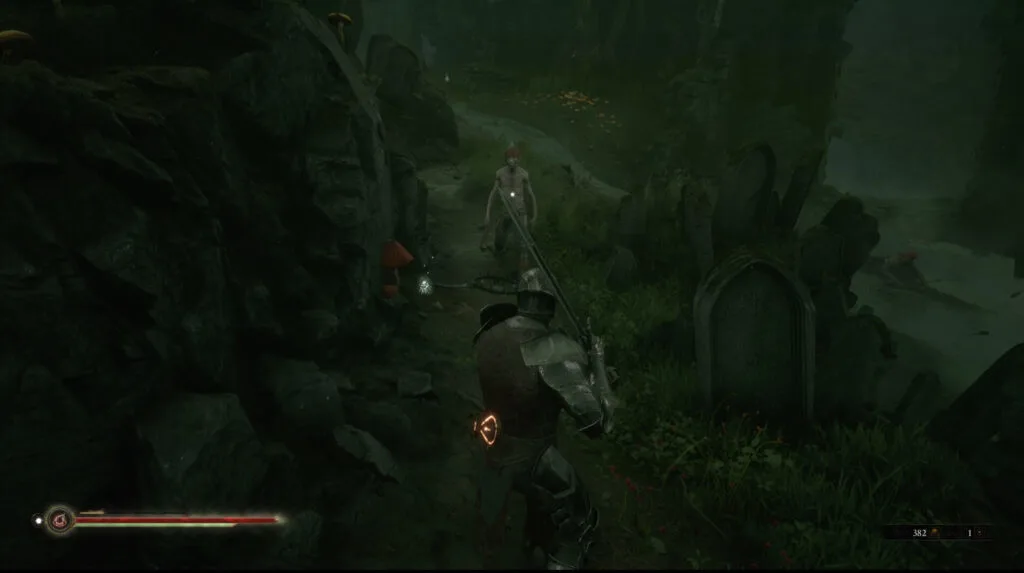
Now that Mortal Shell is available for everyone, I’ve thrown together some of the best tips and tricks. If you’re not sure what Mortal Shell is, it’s frequently compared to the Dark Souls franchise as it’s a difficult action-RPG. This guide was originally created for the open beta, but still applies to the main game. Our up-to-date advanced tips and tricks guide is available here.
Mini-spoilers regarding weapons, items, etc.
Table of Contents |
| Tip 1 – Using Harden and Dodges Together |
| Tip 2 – How to Parry Enemy Attacks |
| Tip 3 – How to Heal in Mortal Shell |
| Tip 4 – What Shell is Best? |
| Tip 5 – Recovering Your Shell |
| Tip 6 – How to Save in Mortal Shell |
| Tip 7 – What is Familiarity? |
| Tip 8 – Learning Enemy Patterns |
| Tip 9 – How to Cheese Certain Enemies |
| Tip 10 – What Are Tar and Glimpses For? |
Tip 1 – Using Harden and Dodges Together
The Mortal Shell tutorials explain how to use Harden and dodges quite well, but it’s still important to reinforce their importance. The Harden ability lets you harden your skin and block any incoming attack. However, it will only block one attack which leaves you vulnerable to combos.
This is why it’s important to use a good combination of Harden and dodges, so you can still roll out of the way. Fortunately, Harden will stagger certain enemies when they hit you. This can create an opening to attack or reposition. One of the best features of Harden is you can use it any time regardless of what you’re doing.
It doesn’t matter if you’re attacking, rolling, midair, etc. Once you activate Harden, your skin immediately hardens. Whereas with a dodge, you can’t immediately get out of a started attack.
Managing Your Stamina
One of the more difficult mechanics of Mortal Shell is managing your stamina. Tip 4 goes over how certain Shells have varying amounts of it. Always be aware of how much stamina you’re using by watching the yellow bar at the bottom left corner. Otherwise, you’ll become sluggish and get caught off-guard. Dodges and attacks are what use up the majority of your stamina.
Tip 2 – How to Parry Enemy Attacks
If you’re struggling to parry, here’s what you need to know. You have to parry before an enemy hits you, not when they do. So watch their attack and parry a little in advance. This is so your character has time to respond to their attack. Unlike games that may parry instantly.
Parrying in Mortal Shell is a great way to get health or block an incoming attack. While the tutorial briefly mentions parrying, it doesn’t give a great understanding of how it works. If you successfully parry an attack, you’ll get an opportunity to attack back for some damage or health if you have enough “Resolve”.
Resolve is a resource shown above your health bar at the bottom left corner in chunks/bars. This is gained from attacking but goes down over time if you don’t fill a complete bar. If you parry an enemy, you can use an Empowered Riposte to attack back and heal about half your health. Otherwise, two Resolve bars can be used for a weapon ability if you have one.
We have a more thorough guide on parrying here with the recent release of Mortal Shell.
Tip 3 – How to Heal in Mortal Shell
Healing in Mortal Shell is a little painful compared to other games, especially if you’re new to this genre. The main ways to heal are consuming items, getting an Empowered Riposte (Tip 2), recovering your Shell (Tip 5), and talking to the NPC at the start of the second zone (Sester Genessa).
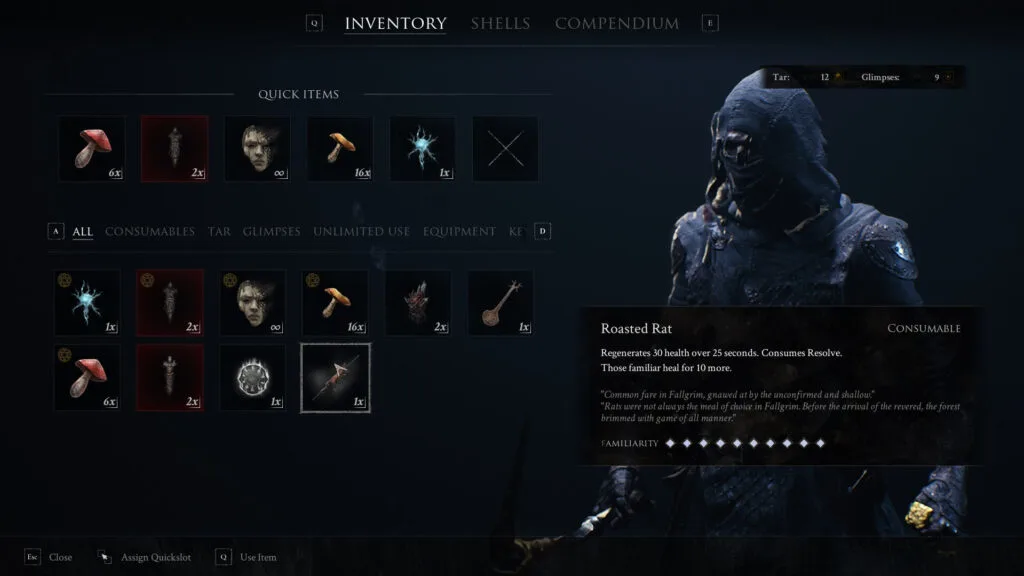
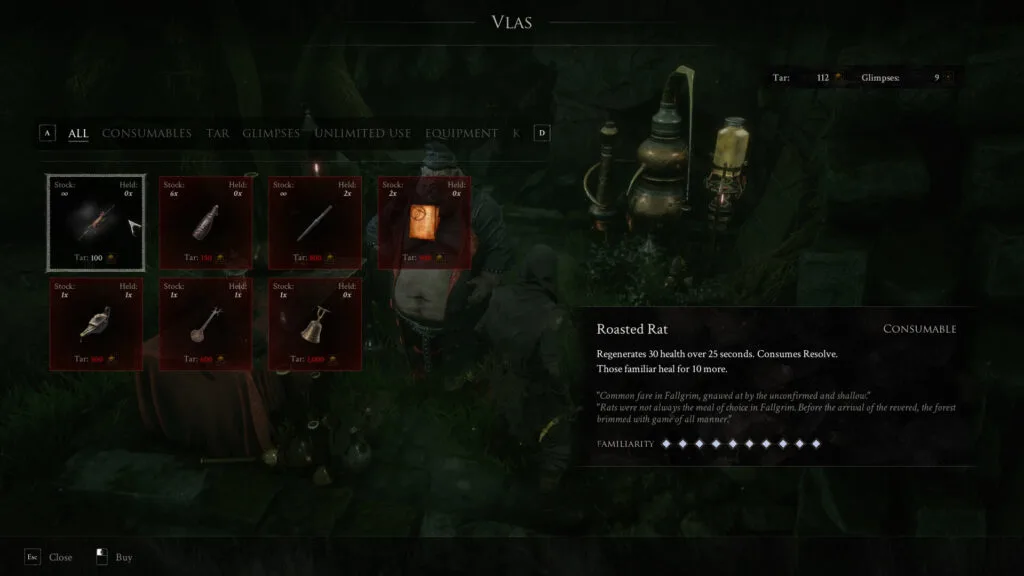
The best healing item during the Mortal Shell demo is the Roasted Rat since it heals the quickest and for a decent amount too. As shown in the above screenshot, when you become completely familiar with it, it heals 40 health over 25 seconds. If you’re not sure how familiarity works, check out Tip 7. The Roasted Rat can be purchased from the Trader in the first zone for 100 Tar.
If you didn’t already know, gathered mushrooms will return to where you got them from after some time. This is why it’s important to revisit certain areas for common healing items like Wellcaps.
Tip 4 – What Shell is Best?
Mortal Shell revolves around classes or archetypes known as Shells that the main character wears. These decide your health, stamina, and a little more as well it appears. The two Shells available in the demo are:
Harros, the Vassal – This is the first Shell players start with that has a more balanced style, despite a slow starting weapon. Larger health bar than others, but less stamina as a result.
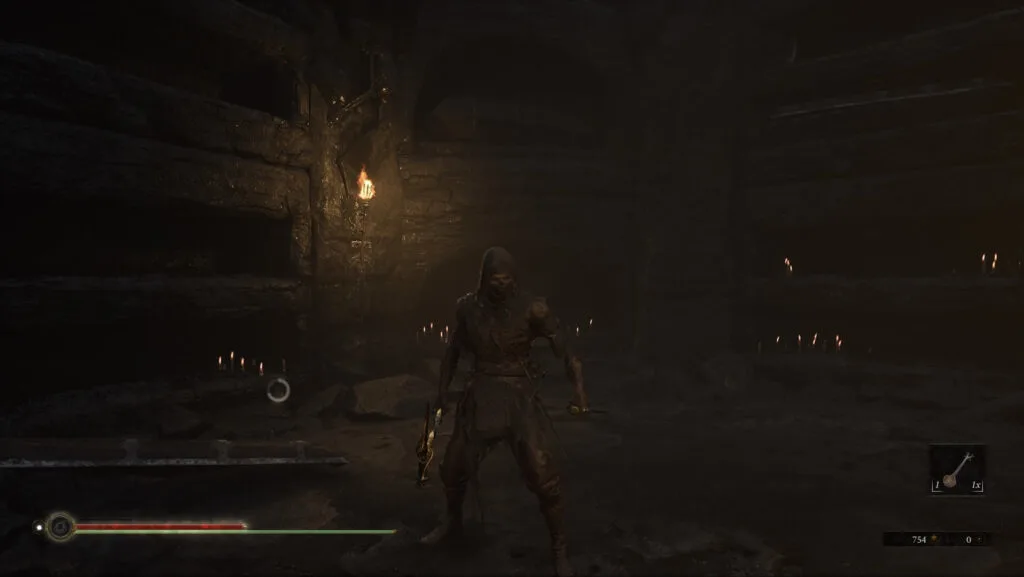
Tiel, the Acolyte – This Shell is acquirable in the second zone. It has a lighter style with less health and a large stamina bar, as shown in the screenshot above. The Hammer and Chisel weapon nearby provides an extremely quick fighting style.
Personally, I prefer Tiel with the Hammer and Chisel for both its speed and large stamina bar. This makes it easier to dodge around enemies and attack for long periods of time. Unlike Harros, it’s much easier to stun lock certain enemies by comboing multiple attacks.
If you can’t find Tiel and the Hammer and Chisel weapon, take a look at our quick guide here showing their location. And if you want to know more about upgrading your Shell or weapons / leveling up your character, take a look at Tip 10.
Tip 5 – Recovering Your Shell
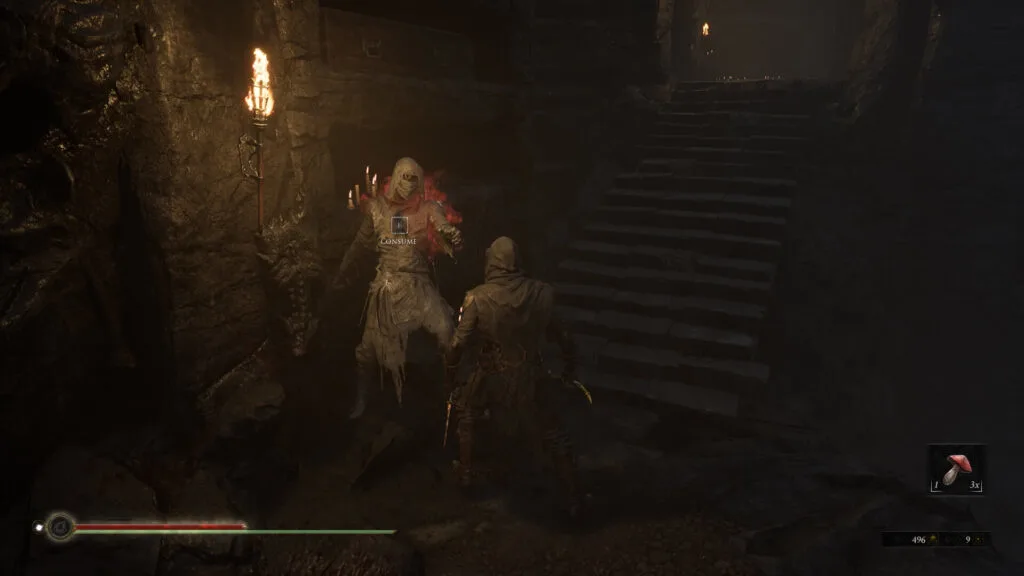
Players leave a shell behind with their currency when they die. It’s important to return to your body to not lose any Tar if you die again.
The first time you die in Mortal Shell per life, you’ll get kicked out of your Shell. This drops you to an extremely low health bar where you can re-enter your Shell nearby. Doing so will completely heal you, but your next death will reset you to a checkpoint. Then, a new Shell will similarly be left behind with your Tar currency. If you get wiped to a checkpoint before recovering this Shell, you’ll lose your Tar from that life.
This is why it’s important to recover your shell from each failed run. As explained further in Tip 10, Tar is important for purchasing items and upgrading. Depending on your Shell, it’s not too difficult to run past enemies and get your body back.
Side Tip: The first time you’re knocked out of your shell, if it’s glowing green from poison, you can wait for the poison to go away. Then, re-enter and you won’t be poisoned.
Tip 6 – How to Save in Mortal Shell

Petting a cat should be the way to save, but it’s not. Each region has a checkpoint at the beginning of its area.
Mortal Shell doesn’t have traditional saving such as going to a character or a menu to save. However, if you die, you’ll always be sent back to the beginning of your zone as shown in the demo. You’ll still have your items, Shell/weapon, and Glimpse currency (explained in Tip 10). If you exit out of Mortal Shell, to my knowledge, you’ll have progress up until that checkpoint and possibly more due to auto-saving.
For example, I quit Mortal Shell, returned, and it still had a save of where my previous Shell from a death was.
Tip 7 – What is Familiarity?
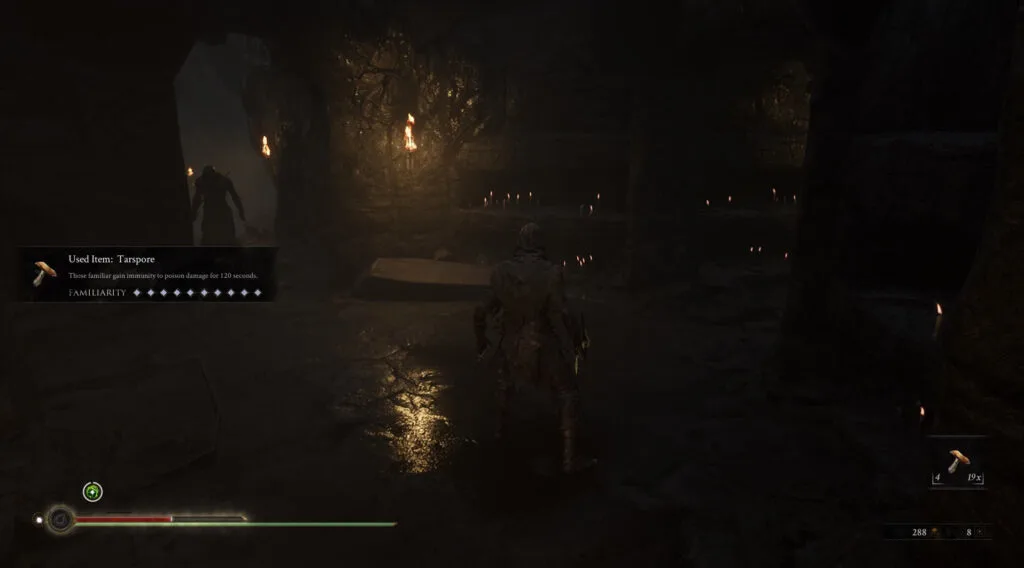
Most items require you to use/eat them before you know what they do. Each item will say how many uses it requires to learn more.
Familiarity is a simple mechanic in Mortal Shell that is easy to understand. Before you use an item, you may not know everything about it and won’t completely benefit from it. For example, Tarspores poison you when consumed before you’re familiar with them. After eating enough of them, they grant poison immunity instead.
Therefore, every item simply needs to be used a certain amount of times to fully identify them. Every item will tell you how many uses it requires before being completely known.
Tip 8 – Learning Enemy Patterns
This a general tip recommending to learn enemy patterns so you know how to fight them. Every enemy in Mortal Shell has a few attacks that make them easy to learn, so long as you notice and remember them. This makes it easier to dodge them or Harden for certain moves, so you have an advantage.
If you have any intention of beating the main boss from the demo or even the hidden one in the first area, you’ll have to learn their moves. Sometimes it’s best to play evasively and dodge around before going on the attack. Once you become comfortable with each enemy, combat becomes much simpler.
Tip 9 – How to Cheese Certain Enemies
There are a few neat tricks to cheesing/making combat easier in Mortal Shell if you get creative. In some cases, you don’t even have to get creative. The first area in the demo includes some bear traps hidden along paths or in the grass. Enemies are just as vulnerable to these as you are.
Bear traps deal some damage and stun its victim temporarily. Then, it immediately re-arms for some reason. This creates a situation where an enemy can become trapped multiple times, if you keep poking them into it. Or even luring them to traps.
Using Sprint Attacks and Then Rolling Away
I mainly used the Hammer and Chisel for this strategy, but I’m sure the sword works too. There’s an attack where you sprint and use a heavy attack to lunge in. You can often use this to engage on an enemy and then dodge/roll away. This works a little too well for certain enemies and easily reduces your risk of getting hurt.
Tip 10 – What Are Tar and Glimpses For?
The two currencies available in Mortal Shell are Tar and Glimpses. Tar is for buying items and upgrading your Shell. While Glimpses seem to be exclusively for Shell Upgrades.
How Do You Get Tar/Glimpses
Enemies drop Tar on death that is automatically collected. You can see how much Tar you have at the bottom right corner, it’s the left number. The number to the right of your tar is how many Glimpses you have.
There are two ways of getting Glimpses: Enemies will sometimes drop them and certain items will give them when consumed. Here are three items included in the Mortal Shell demo that provide Glimpse:
- Glimpse of Futility – Gives 1 before you’re familiar with it, then 2.
- Glimpse of Wisdom – Gives 2 before you’re familiar with it, then 3.
- Glimpse of Affection – Gives 4 before you’re familiar with it, then 5.
How to Upgrade Weapons and Shells
The main way to make your experience easier aside from getting better is through weapon and Shell upgrades. Sester Genessa in the second area is your way of upgrading whatever Shell is equipped. You’ll need to spend Tar and potentially Glimpses depending on your Shell to learn/seek its name, and then upgrade it. Not every ability is available in the demo.
Weapons are upgradable nearby Sester Genessa at the Anvil. However, instead of using Tar or Glimpses, you’ll use unique items found in the demo. Some are obtained from chests, beating a boss, and a few other ways too.
Be careful not to lose your Glimpses by recalling with the mask Sester Genessa gives you. Until becoming familiar, you’ll lose all your Glimpses, instead of half. If you lose Glimpses, you may be able to get them back from monsters that originally dropped them.
I hope this guide helps you with your Mortal Shell open beta demo and perhaps helps on full release. If you’re struggling with anything in particular, feel free to ask in the comments below. Or maybe even drop a tip of your own below!
Mortal Shell is coming to Xbox One, PlayStation 4, and PC, sometime in Q3 2020. The open beta is only available on PC via the Epic Games Store. If you’re looking for the Mortal Shell Discord server, it’s available here.

Jeff is a journalist with over 10 years of experience writing, streaming, and making content about video games. With an associate degree in journalism, he’s a sucker for RPGs, survival games, roguelikes, and more.

